A few months ago, Ara Khanikian explained to us the work of Rodeo FX on JACK THE GIANT SLAYER. Today, he talks about the magical effects for NOW YOU SEE ME.
How did Rodeo FX get involved on this show?
We have a very good relationship with Summit / Lionsgate. They approached us to bid on this project very early on. We got awarded a good number of shots at the beginning of post and then over time the number of shots just kept getting bigger and bigger until we became the main VFX vendor.
How was the collaboration with director Louis Leterrier?
Working with Louis Leterrier was a fantastic experience as he’s such a great filmmaker. He put together a great cast and crew and created stunning imagery with beautiful camera moves and lens flares.
What was his approach about the visual effects?
The approach was rather simple: it was all about photorealism. Everything had to look “in-camera”. The movie was shot 35mm anamorphic and the shots looked great with gorgeous lens flares.
How was the collaboration with Production VFX Supervisor Nicholas Brooks?
Our collaboration was extremely good, he’s a stellar guy. He has such a good eye and an impressive visual taste. He was really great at guiding the visuals and helping us achieve the director’s vision. We’d have 2 cinesync sessions per week going over and reviewing shots. He also came to our studio twice and spent some hands-on time with the Rodeo artists.
What have you done on this show?
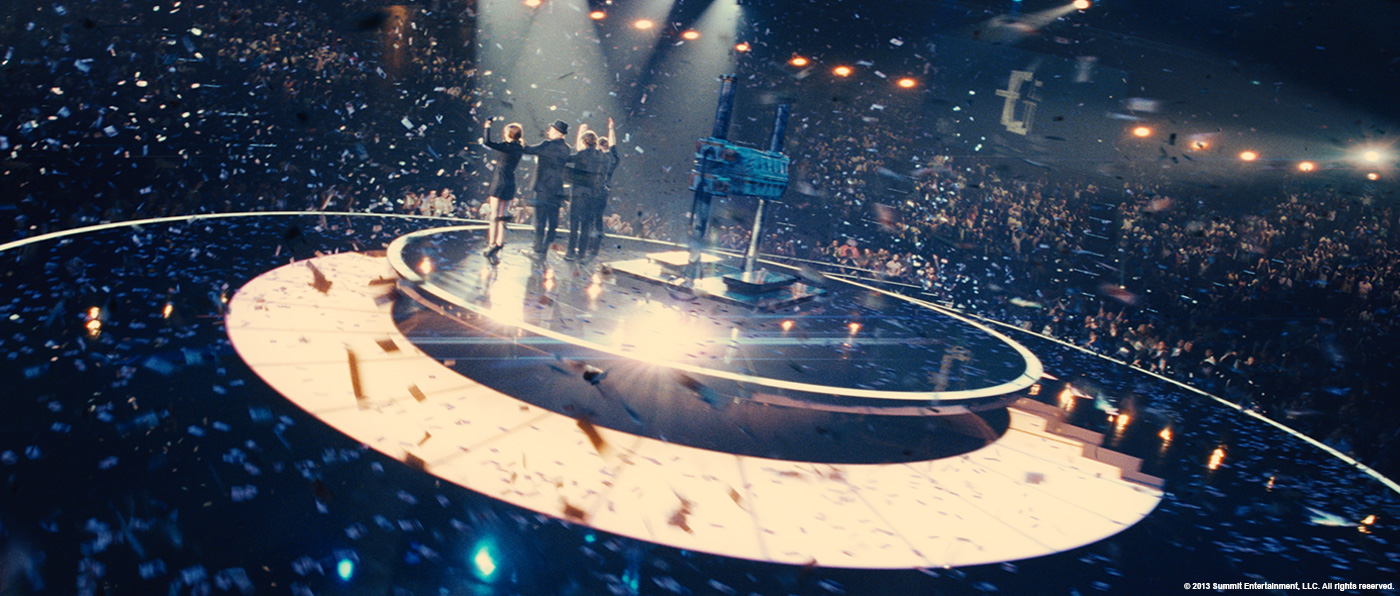
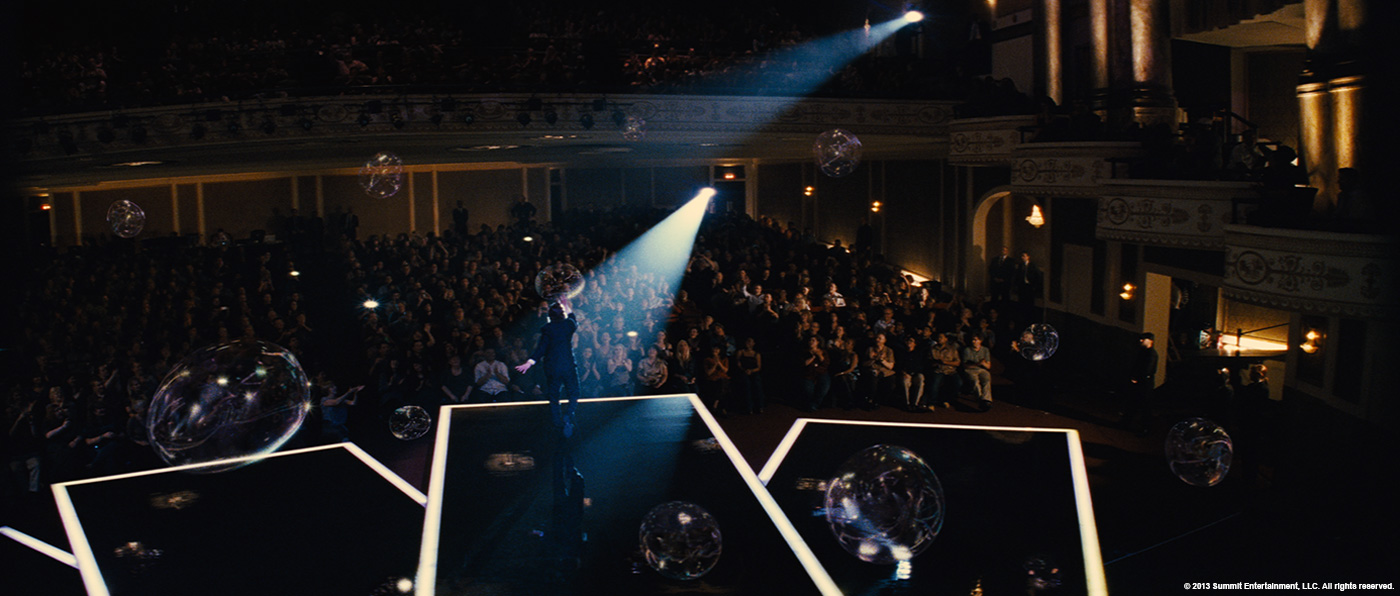
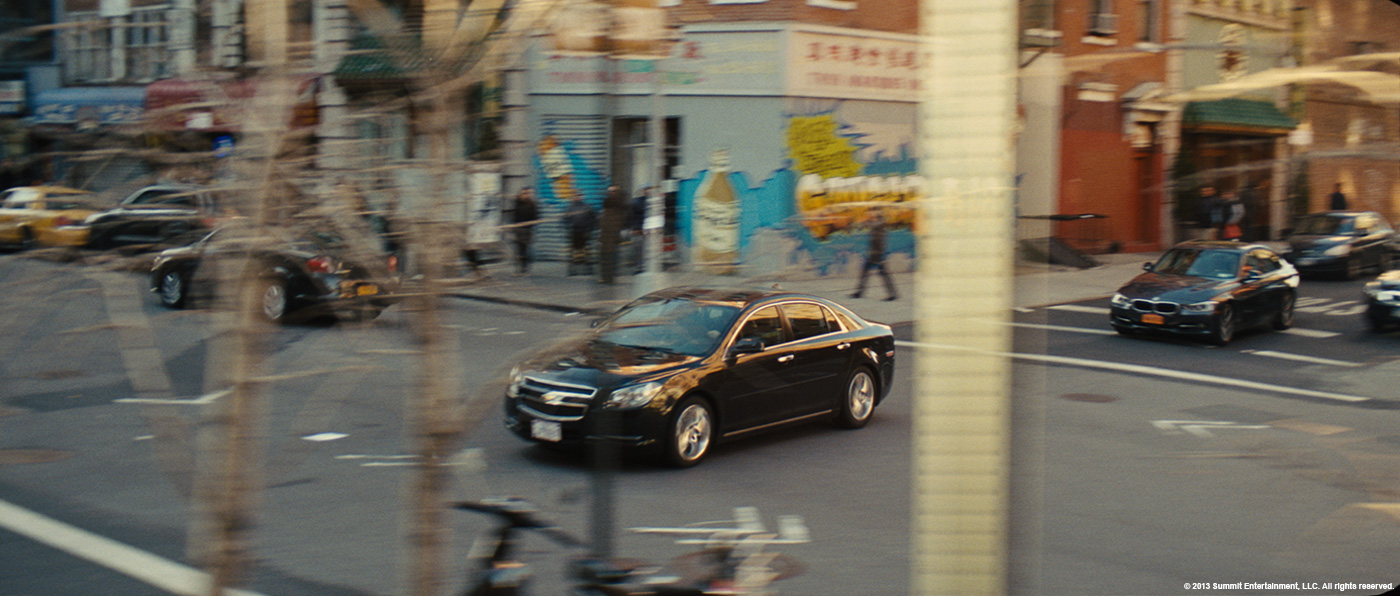
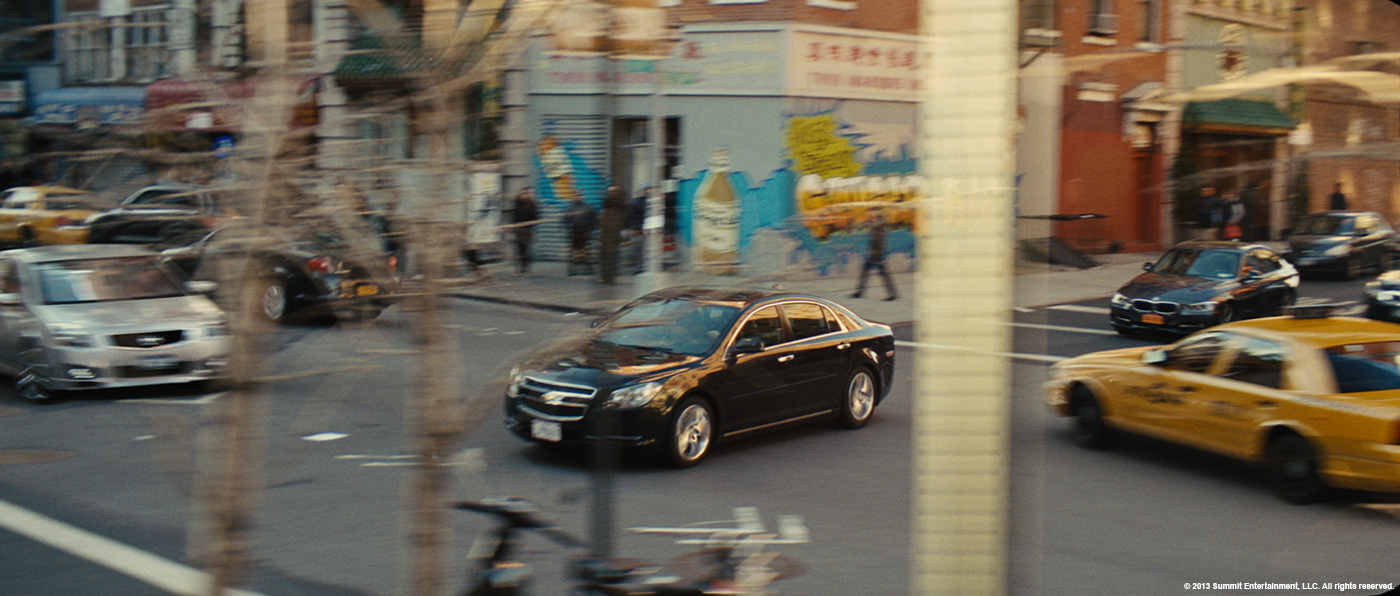
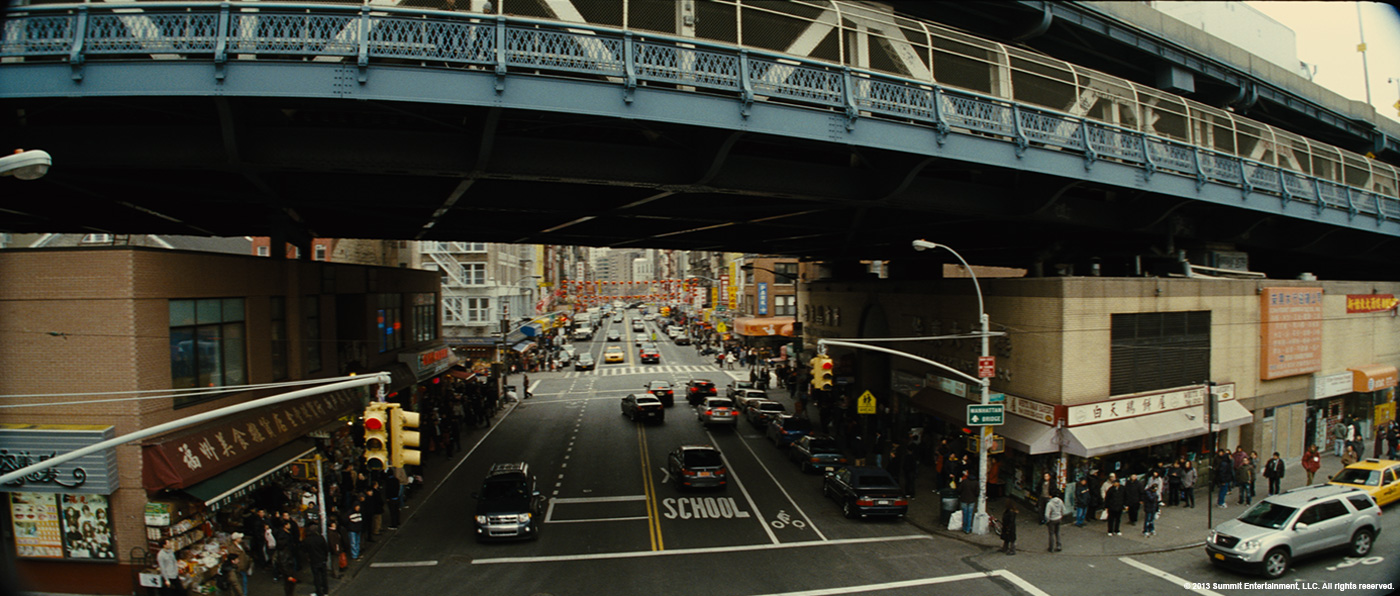
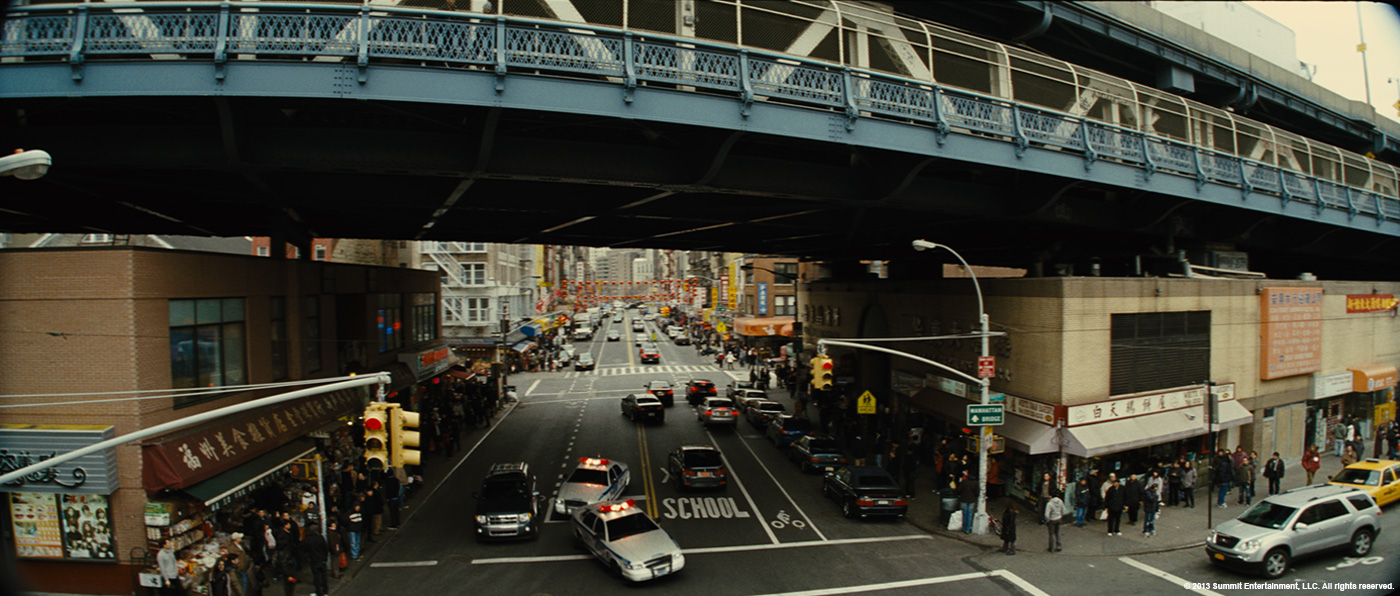
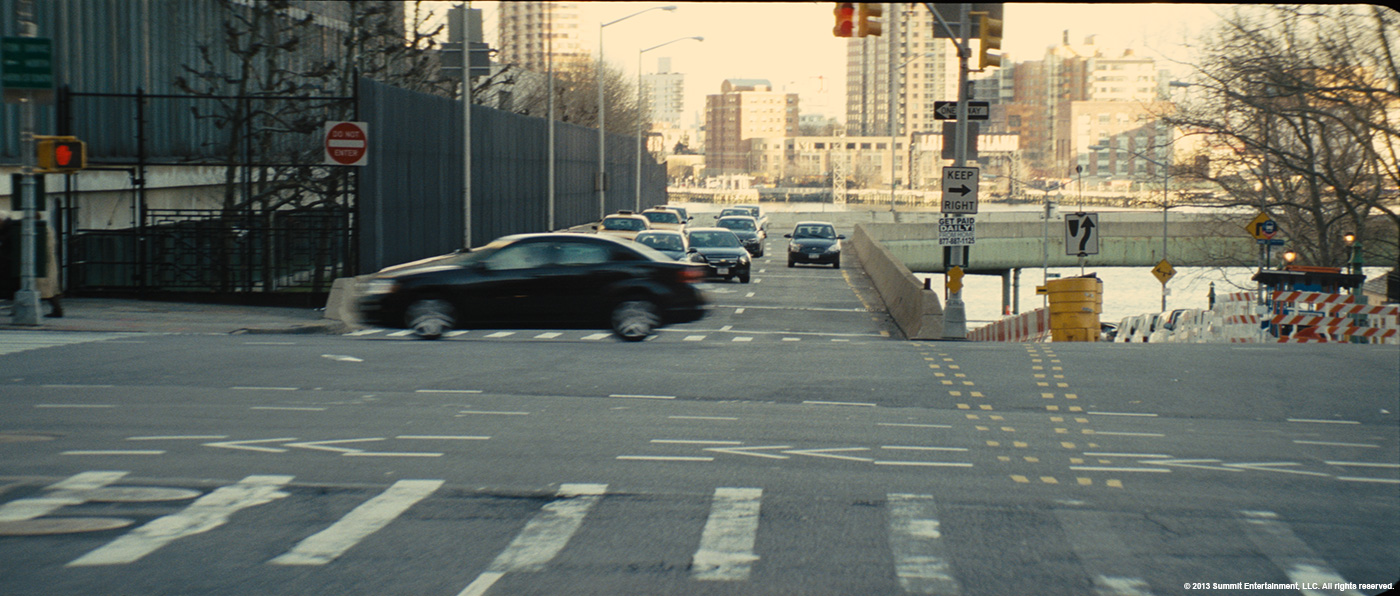
We delivered around 350 shots for this show. We contributed a very wide range of effects, from complex crowd duplications, to projecting motion graphics on buildings, to recreating many different interactive city environments, to complex simulations and animations, and a whole lot more. We did car chase scenes with CG cars and helicopters, created and animated CG soap bubbles, recreated the environments of Manhattan, Las Vegas, and Chicago to give just a few specific examples.
Sebastien Francoeur acted as the CG sup on this show and Andre Montambeault was Rodeo’s artistic director on the holograms and Five Points sequence.
The movie opens with a trick on a huge building. Can you tell us more about your work on it?
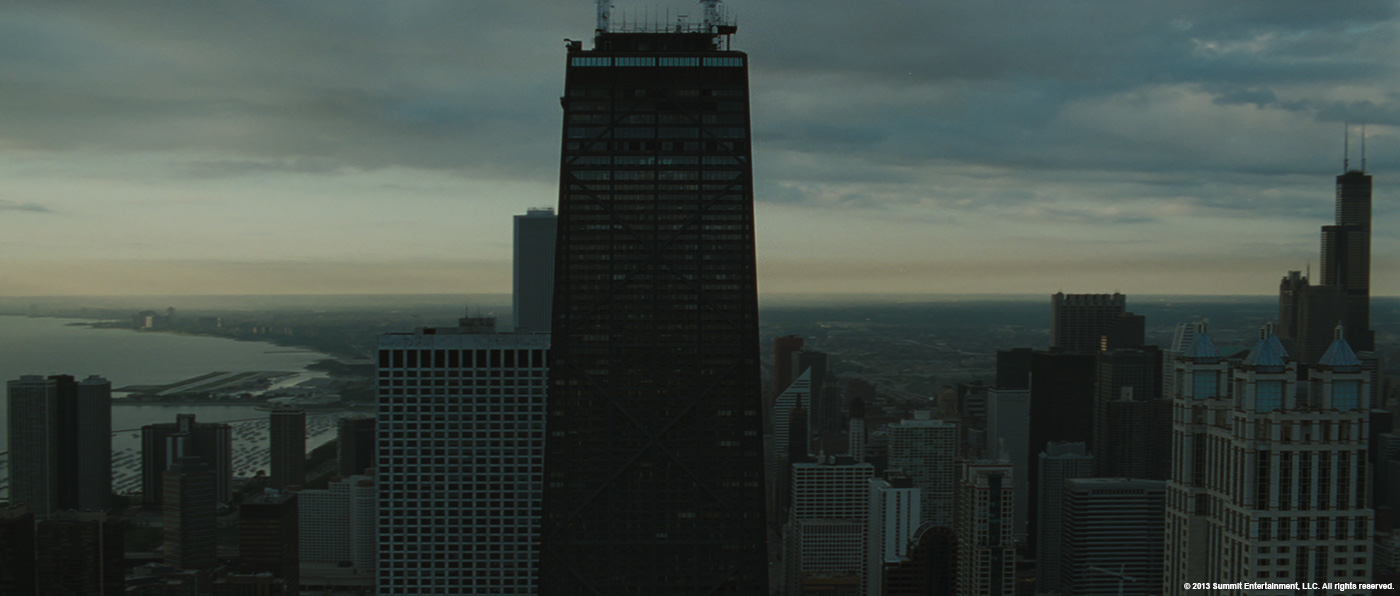
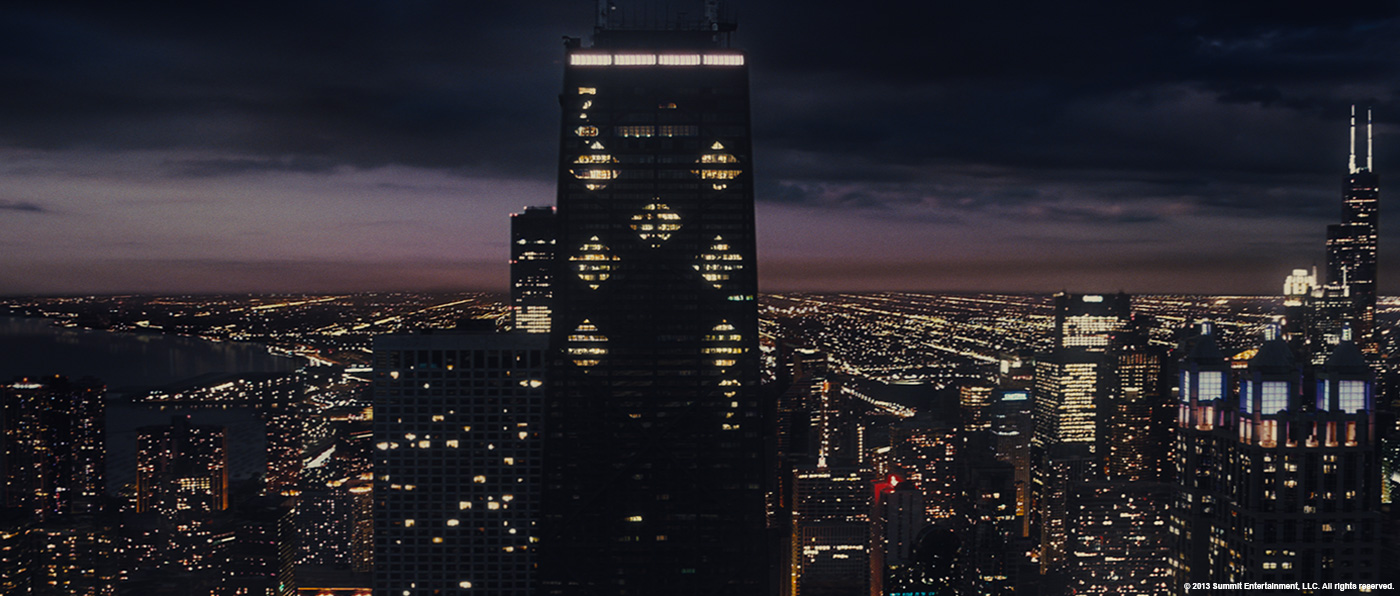
Yes, this scene involved the Seven of Diamond lit up on the John Hancock building in Chicago.
In the first shot we see it in, we received a plate with Jesse Eisenberg’s character throwing a deck of cards as the camera tilts up. We sent Robert Bock, our VFX DP, to Chicago and he took photographs of the John Hancock building and its surroundings. Next, we did a layout of the shot and digitally extended the camera move in Softimage to get a better framing of the top stories where the Seven of Diamond needed to be lit in the windows. We then created the environment and projected the photos of the building onto basic geometry using a combination of Softimage and Nuke.
We were also responsible for creating and animating a new sky to be used in this shot. Using Softimage’s ICE we were then able to animate (using simulations) the CG deck of cards being thrown in the air. Later in the comp, we added atmospherics, lens flares and glares, and choreographed the animation of the windows lighting up to form the seven of diamond.
The second shot of that sequence was a large establishing shot of Chicago showcasing the lit Seven of Diamond on the John Hancock building. For this shot we received an archival aerial plate of Chicago which was shot in the daytime. This required us to design the day for night look in order for it to be cut seamlessly with the surrounding shots. We then graded the shot down and our matte painting department created the environment by painting lit windows onto basic geometry and cards. Finally, we composited all the layers and added as much life as possible by adding flickering, airplanes, and other atmospheric effects.
The magicians discover a beautiful hologram that start with a water simulation. Can you tell us more about its design?
The idea is that there’s water flowing from a vase to a carved pattern on the floor. We discover later on in the movie that the carved pattern is actually the Four-Horsemen logo. We used fluid simulations in Softimage’s ICE to create and animate the water flowing. Once the water filled the pattern, the floor would drop releasing smoke which we shot practically with custom built holdouts in our studio using our Red Epic camera.
How did you created and animated the hologram?
The holograms were all designed and created in Autodesk Flame. We imported a ton of schematics and set plans provided by production along with a lot of 3d models. Those models included the Lidar scans we originally received combined with the CG assets that we ultimately built in-house for this project.
Using Flame’s 3d compositing environment, we created a giant asset of the hologram animation and composited them in all the shots. We also enhanced all the projectors used to create these holograms by adding more volume, color, and laser beams to help construct and deconstruct portions of the holograms.
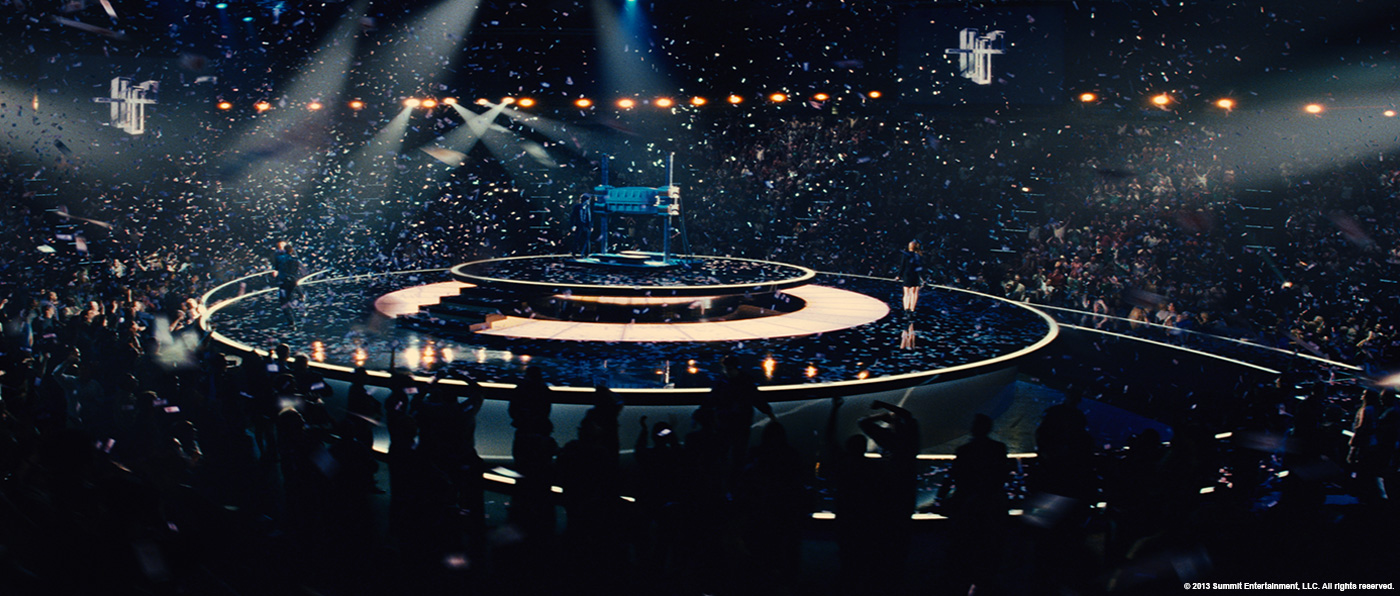
Can you explain in details how you created the crowds for Las Vegas MGM?
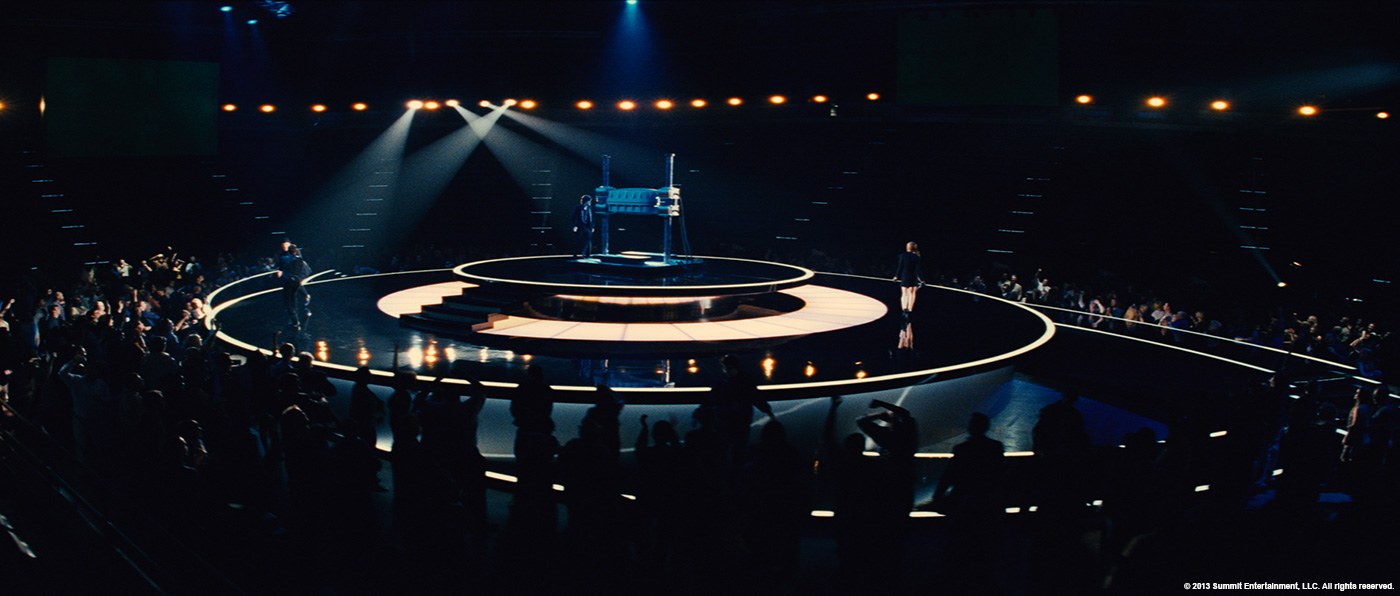
Initially we all knew that CG crowds would need to be added to quite a number of shots for this sequence, and as such production had shot a lot of crowd tiles in the MGM Grand for us to use. Additionally, we also knew that a large number of shots had very dynamic camera moves where the crowd tile elements would simply not hold up with the big perspective changes. Furthermore, having to render only CG crowds for these shots would result in a long and very expensive process that no one could afford. So we opted on using a blend of CG crowds, the crowd tiles provided by production, and our own employees shot against greenscreen in our studio.
The rule of thumb was to use a CG crowd whenever the crowd needed to be in a standing position, such as standing around the stage. A CG crowd was also used in portions of the stands where there was going to be a great deal of perspective changes due to camera movement. Background crowds that had minimal perspective shifts were created with the crowd tile elements, and everything else in-between created with individual sprites elements.
Knowing that we did not need a great amount of detail on the CG crowd (no close-ups), we decided on using “off-the-shelf” solutions. For example, we used a Kinect camera system to do the 3D scanning of all of our employees. During the scanning process, we took reference pictures for textures since the scanned individuals were already in a T-Pose. Finally, we utilized multiple PS3 cameras to record a mocap session right-after the scan. So basically in one session we would scan, photograph and record mocap for a single person. IPISoft was used to record the mocap data and MotionBuilder used to cleanup the f-curves and create multiple variations.
We wrote a custom tool in Softimage that would grab the proper animation data in the CG crowd based on how the crowd was supposed to act in the shot. Essentially we would paint onto a view of the MGM Grand and assign colors to actions. If we paint in red, the crowd cheers, if we paint in blue they just stand around looking ahead, and so on and so forth. Layout, shading and lighting was handled in Softimage using the Arnold renderer.
For the crowd sprites we used the same people shot for the CG crowds, but against a greenscreen backdrop performing a specific series of actions at set time intervals. Those actions included naturally starring around, pointing at the stage, clapping, cheering among others. All the footage was linked and tagged in Shotgun that allowed us to easily fetch different actions needed for a given performance. The next step was to build a crowd asset in Nuke from the LIDAR scan of the venue which we accomplished by converting it to a much more lightweight Alembic file format with the Exocortex Crate plugin in Softimage.
All the crowd had been pre-keyed and graded, so with a combination of Nuke’s Crosstalk Geo node and some custom python tools we were able to generate all the sections of crowds by simply entering the number of rows and seats needed. We added parametric controls for the distance of each seat, the inclination of the rows, among other specific controls that allowed us to fill the entire stadium with pre-keyed crowd sprites with this tool. One of the great features of this tool was its ability to choose the action of the crowd contextually based on what was going on in the shot at that very moment. This was due to the fact that everybody was performing the same sequence of actions at very precise times, and that those actions had been tagged to the footage in Shotgun. We would simply say we need people clapping in this shot and the tool would isolate the clapping portion of the crowd and ping-pong it if it was not long enough for the shot. It would automatically create slight variations by slipping the action of every sprite in order to avoid seeing repetition. It was also very easy to randomize the crowd by reseeding the group generators so as to avoid repetitive patterns.
OS file limits required us to render every section individually, so we embedded the position pass of every single sprite into the deep channel of the rendered EXR and used Deep Compositing tools to merge the different sections while respecting their priorities relative to the camera. We ended up automating a huge portion of the job which allowed us to simply import the matchmove camera into Nuke and very quickly thereafter have crowds filling the entire stadium.
The MGM sequence featured an impressive long shot. How did you approach this shot?
This shot was a very complex one as it was more than a minute long!
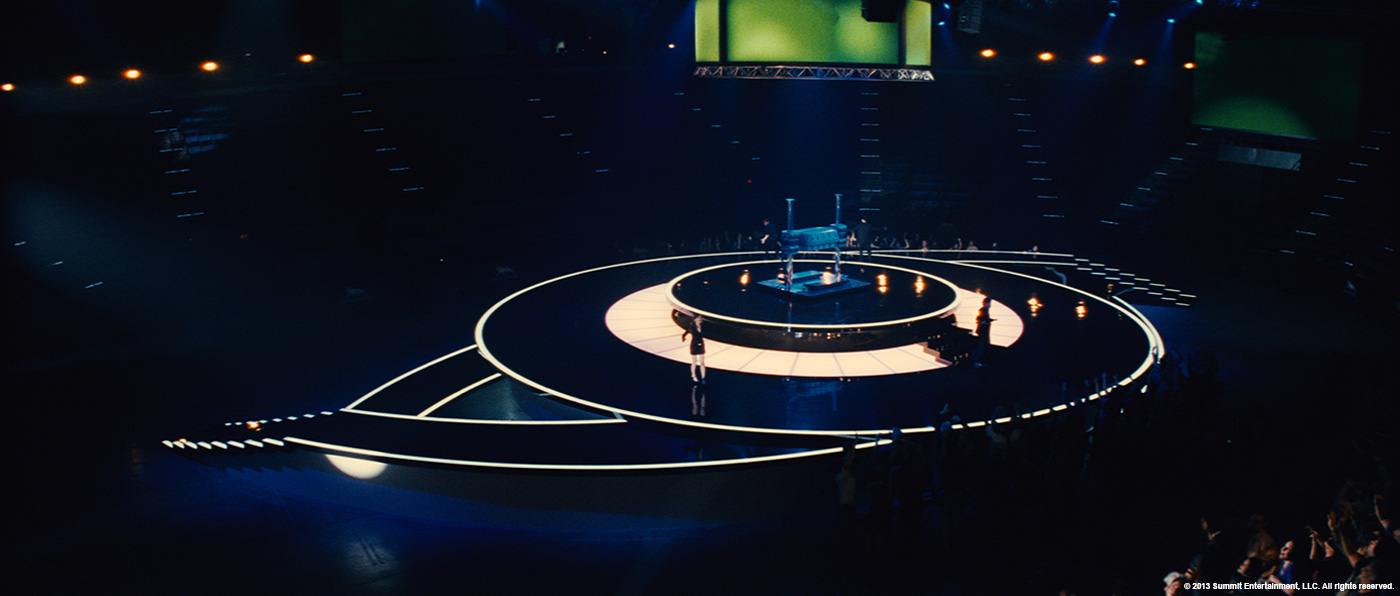
It was shot using a cable cam system. We received three different plates that we stitched and morphed to create one giant shot. The next step was matchmoving that proved to be quite challenging since the show was filmed in 35mm anamorphic with lenses that, while capturing beautiful shots, also created a lot of distortion. Having a LIDAR scan of the MGM Grand during this stage was absolutely essential.
We filled the entire venue with a crowd using a combination of sprites individually placed in seats, CG crowd around the stage and in the seated areas where the camera would pass by very close. We added content into the giant video screens and even added additional screens that didn’t already exist. The shot was enhanced with a lot of lens flares, some created using Video Copilot Optical Flares, but most were real lens flares that we shot with our Red Epic with some vintage anamorphic lenses.
Have you created previs for this long continuous shot?
Production had created a technical previz for all the cable-cam shots in this sequence prior to the shoot.
How was the shooting for this sequence?
The shoot went very well. We were able to be present when filming the MGM Grand scene and we used that opportunity to collect all the data we needed to do the shots.
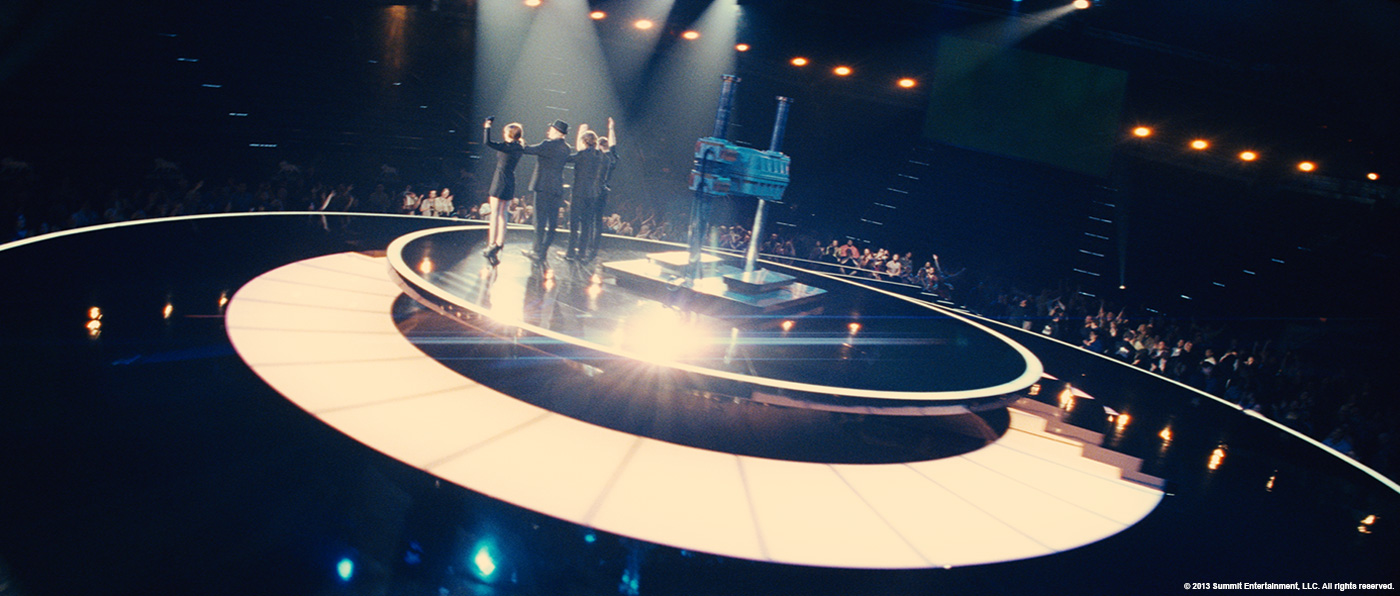
The magicians are using an impressive prop on stage, the Crusher. How did you create it?
The crusher was created using the LIDAR scan. We used Softimage to create a detailed model and rig, and then using the reference photography for texturing and the HDRIs to accurately shade and light it with the Arnold renderer. We used it on a number of shots and the CG crusher seamlessly cut to and from the real on-set Crusher without issue.
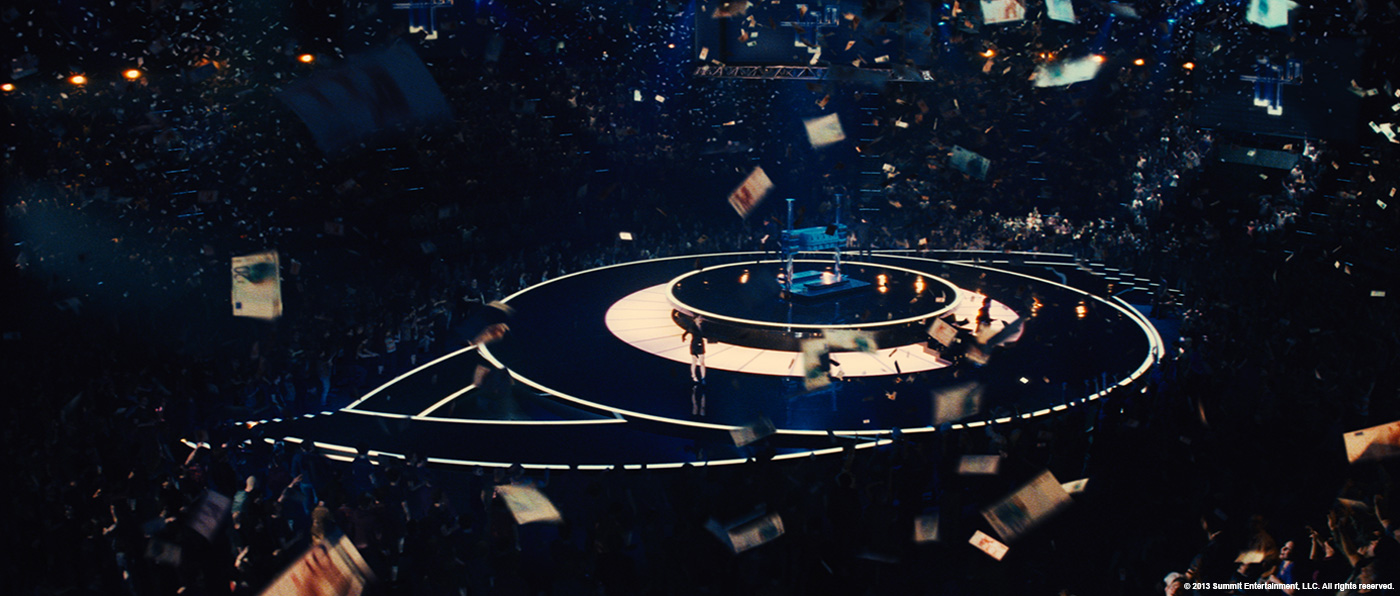
Can you tell us more about the particle simulations for the Euros falling in the scene?
These were really fun, we built a simulation environment in ICE with a lot custom controls to animate millions of Euros falling from air vents in the ceiling with real-world controls. We added a lot of chaos and dynamics to the bills to have the most photoreal look.
To accentuate depth and layered volumetric lighting, we created a custom lighting rig in Softimage that had a lot of random cyclic animated lights that mimicked (as closely as possible) the actual lighting rigs used on-set. During the compositing stage, we extracted the position-pass of the bills and used Deep Compositing tools to add even more depth cueing and lighting.
Additionally, we enhanced and filled the bank vault with CG Euro bills as they get sucked into the air vent leading to the MGM Grand.
At the Savoy Theater, the magicians are using huge bubbles. Can you tell us more about it?
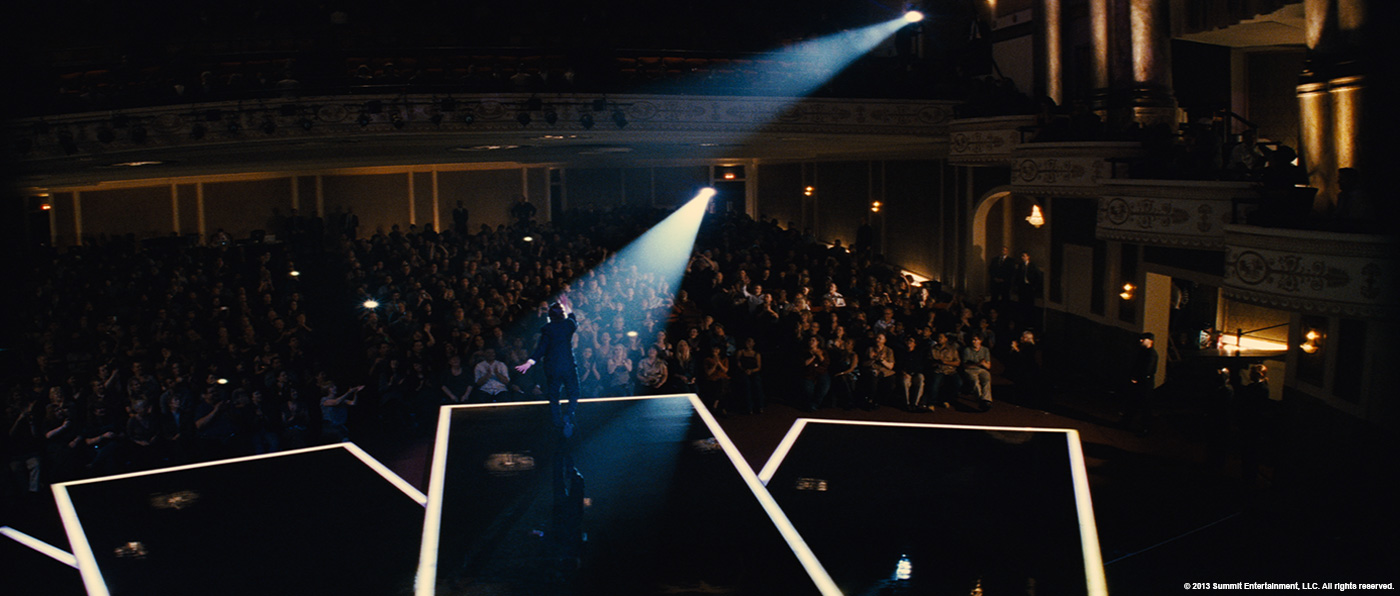
The bubbles were all digitally created. We were provided with a lot of references of bubbles on-set with the actual lighting rigs used, so between the two we already had quite a bit of excellent material. We also scoured the internet to learn more about how they form, behave, and eventually die off. All shots with bubbles were matchmoved before being sent to layout where a rough blocking pass of the bubble’s performance was created. We also tracked the hands of Jesse Eisenberg’s character for the shots were he was actually creating a bubble.
In some shots, there’s a giant bubble with Isla Ficher’s character inside before it bursts. For these shots we did some R&D with fluid and particle simulations to see how we could convincingly burst the bubble in the render, but ultimately did it entirely in comp using practical elements of water droplets. It ended up looked amazing.
What was the main challenges with the CG bubbles?
The main challenge was getting the look nailed. What made it hard was that the look was dependent on the animation, the texturing, and the lighting. All three pipeline steps had to be simultaneously tweaked to achieve the desired result. So, these shots could not go through a standard pipeline where it goes from one department to another. We found the best results were when a CG generalist took the scene and fine-tuned everything at the same time.
Can you tell us more about the giant check and the number transformations?
The idea was to change the temporary check that was used during the shoot with a new one and have the numbers on it change as the characters heat the check with a giant lamp.
The main challenge was nailing the tracking as the cardboard moves and waves a lot. We used a combination of Mocha and Nuke to accurately track the digitally created check into the hands of the characters. We designed a custom dissolve to go from one number to the other and enhanced the look of the flashlight and it’s cone of light by adding flaring and extra rays.
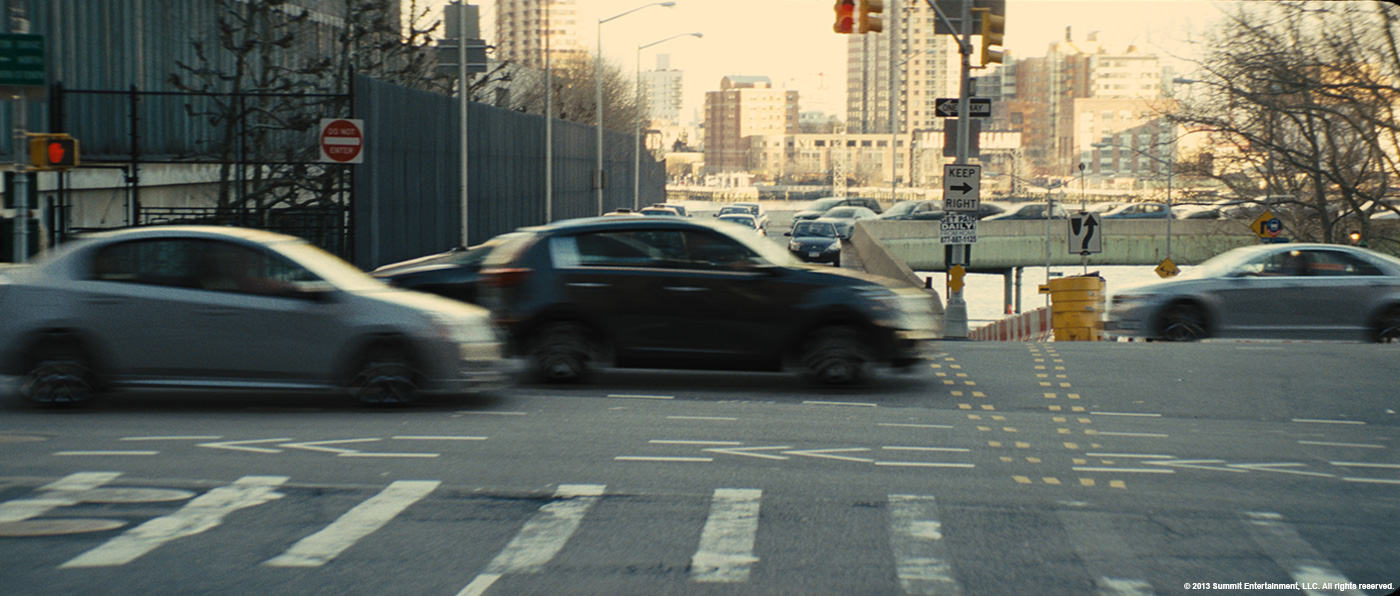
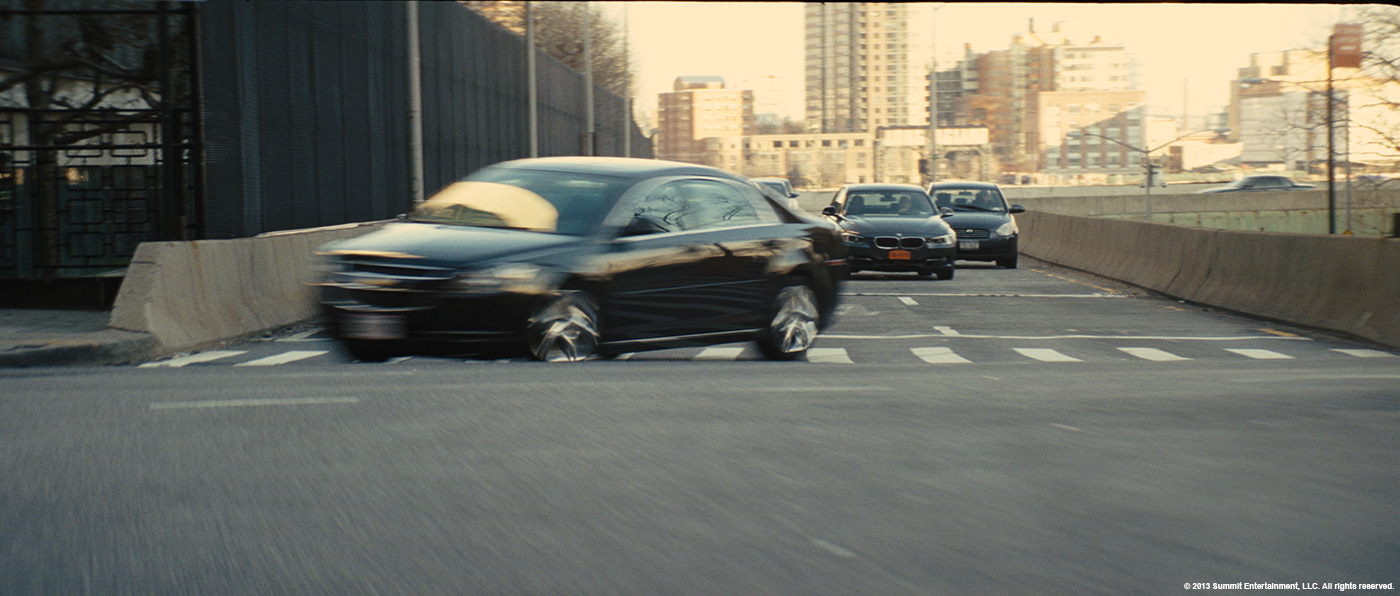
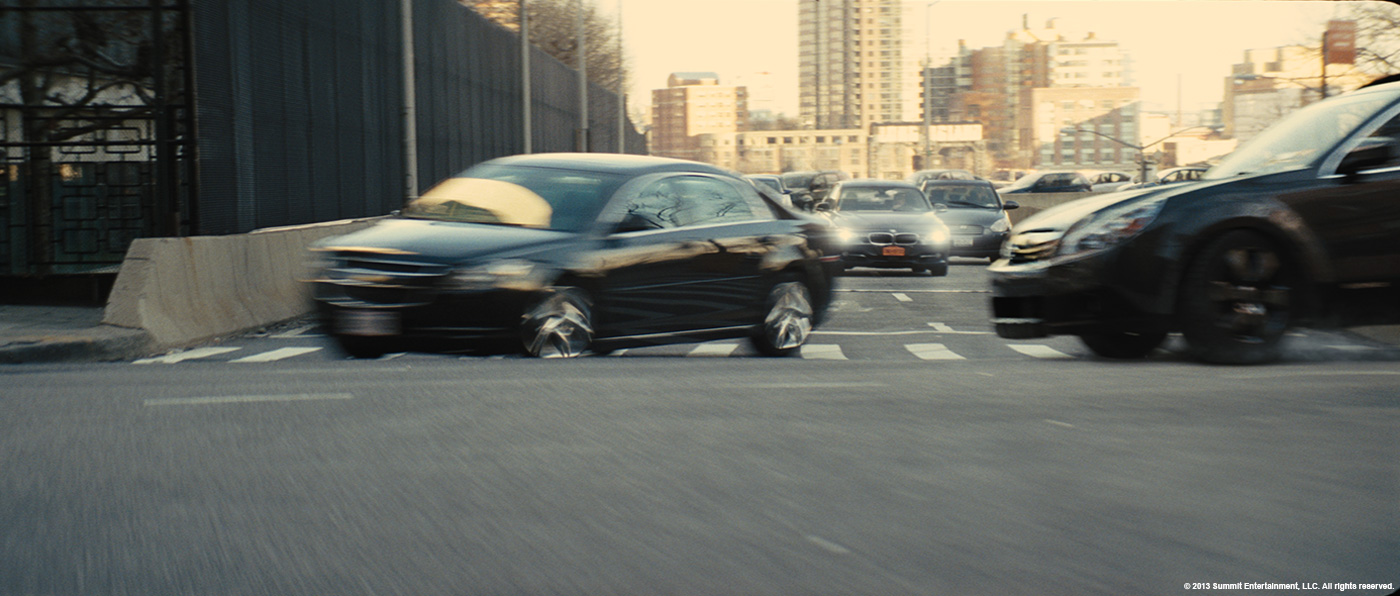
How did you created the CG cars and the helicopter for the car chase in Manhattan?
We already had a fair number of high resolution models in our asset bank, so we only had to modeled the ones we were missing and not provided directly from production. We did a last pass of modeling, adding details where they were needed most and simplifying other portions. Shading and texturing were done using HDRI imagery and rendered using Arnold. We already had a rigging system used for suspension and steering which we re-worked and upgraded to add a lot more realism and precise dynamics to the animations. HDRI taken on set was crucial in the lighting of all the cars and they were also used to create reflection passes.
Can you tell us more about your matte-paintings work on Manhattan and Chicago?
We created matte paintings of Chicago in the opening scene where Jesse’s characters throws a deck of cards up in the air and the seven of diamonds is revealed as lit windows on the John Hancock building.
We also created a late 70’s / early 80’s Manhattan environment and a really cool Las Vegas desert location that unfortunately did not make the theatrical cut of the film.
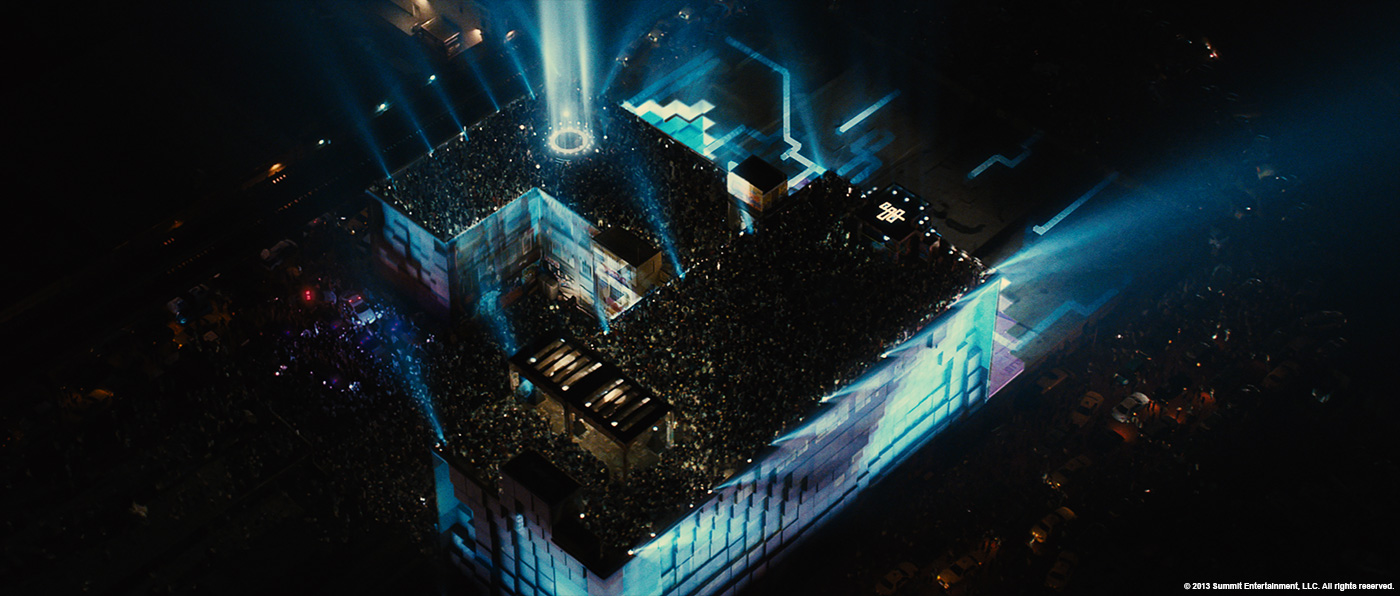
At the end, the magicians are using huge projections on building. Can you tell us more about it?
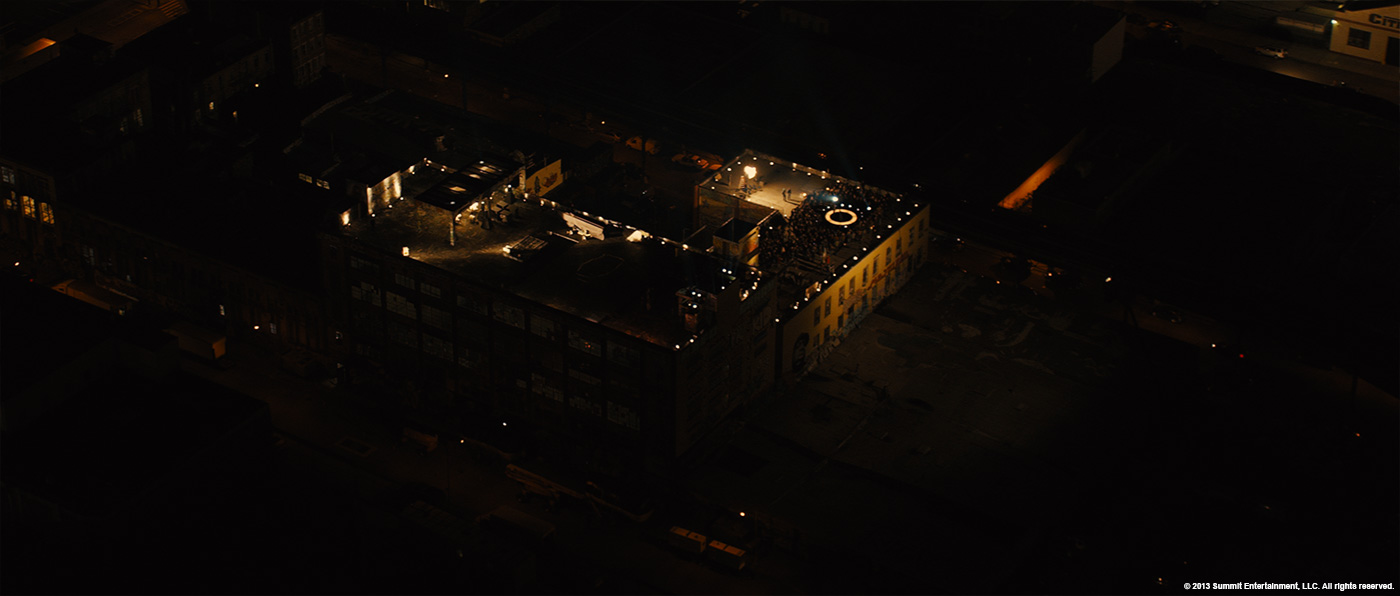
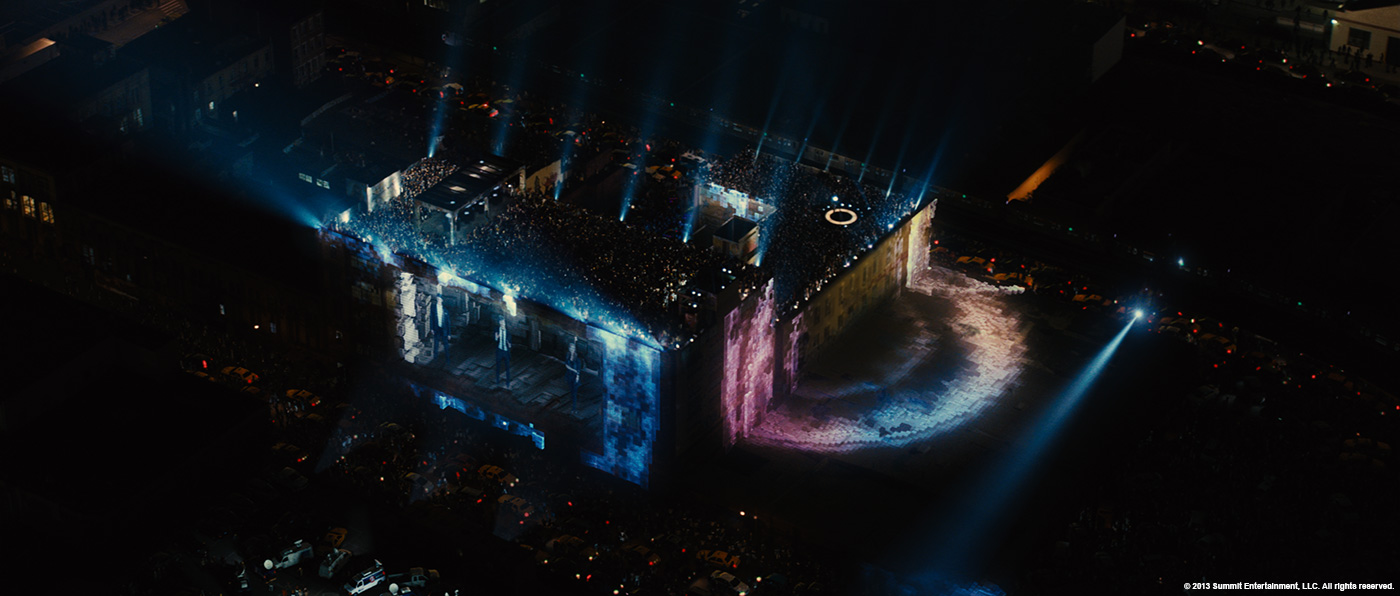
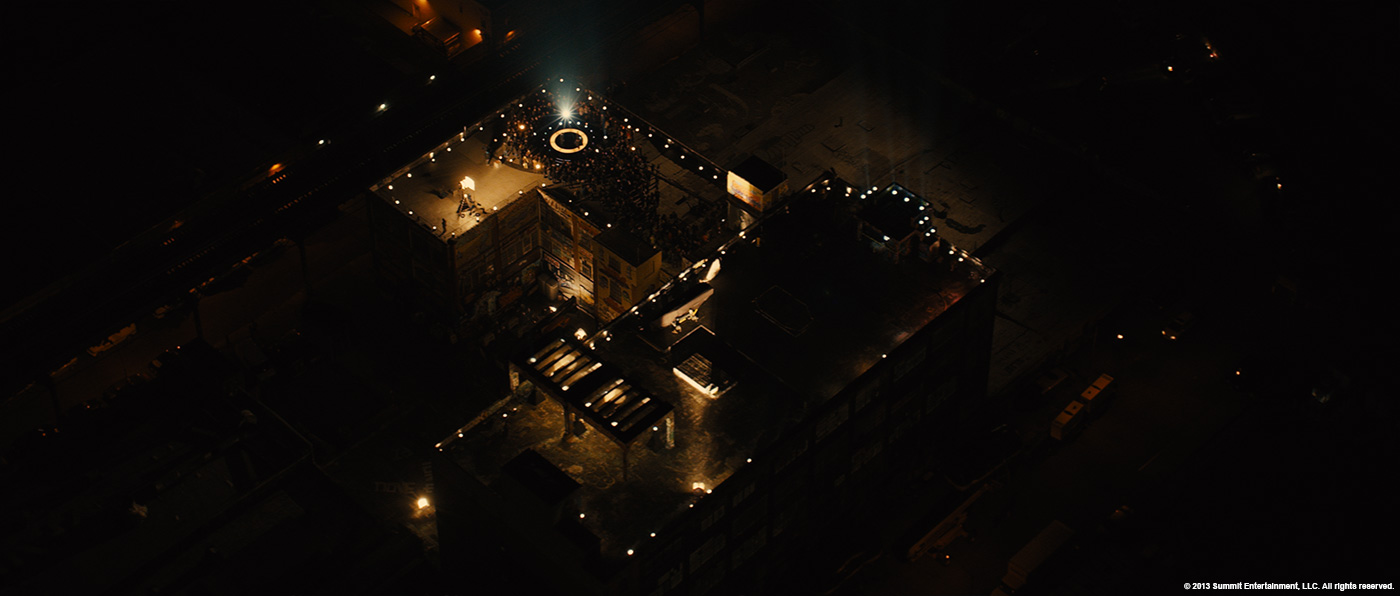
This was the third magic show that the Four-Horsemen performed in the movie, it was shot in an area of NYC called Five Points, and the sequence is shown at the end of the movie. We designed and created all the graphic contents that were digitally projected on all the walls of the building. This scene was shot with two different cameras: a 35mm anamorphic was used for all shots seen from the ground and an ARRI Alexa for all the aerial helicopter shots. We graded and converted to anamorphic all the Alexa footages to match the anamorphic format of the movie.
This sequence went through a lot of iterations in styling and look development but the end result is a very creative use of ICE in Softimage as all the abstract animations ended up being procedurally driven. The building and the surroundings were all 3d-scanned which made the matchmoving process much easier. Our layout department would then set up all the cameras with the corresponding geometry for the Five-Points buildings which then allowed us to use Mari to reproject the building back onto the geometry. All the shots in this sequence were living on our network and allowed us to use custom tools with Shotgun to quickly and efficiently update the timings and shot ordering based on the latest cut we would get from editorial. This further allowed us to have our animation match in continuity from one shot to another.
One of the coolest feature of this sequence was the creation of holes (made from the cubes) in the building where the characters would, in turn, deliver their lines. We thought it looked really really cool.
We also created custom camera rigs that parametrically flattened perspectives of the projected contents which looked awesome for all the wide aerial shots where we would start on the side of the building with flat / no perspectives on the projections and we would gradually dial back in the perspective and depth of the 3D animations when we would be looking straight at the projections.
The crowd, cars and helicopters for this scene were provided by another vendor. We heavily used Autodesk’s Flame systems to integrate all the rendered contents and to create all the light rigs on the roof as well as the light rays emanating from the projectors.
Have you developed new techniques or tools on this show?
Absolutely, we developed a lot of custom solutions that we have integrated to our pipeline. Ranging from cost-effective mocap and 3d-scanning to custom animation rigs and “on-the-fly” crowd duplication tools. We integrated a lot of new tools, softwares and plugins into our pipeline and also did a lot of R&D that will be very useful for us on future projects.
What was the biggest challenge on this project and how did you achieve it?
One of the big challenges in this movie was the amount and diversity of CG elements that needed to be created. Usually, we build assets and use them often in a number of different shots. But in this projects, we had to create a very large number of assets that were each used in a small number of shots at a time. It really allowed us to showcase our wide range of skills.
Was there a shot or a sequence that prevented you from sleep?
Sleep was very well deserved every single night but I have to say that the Five-Points sequence was not an easy scene to tackle. The sequence was so visually driven that it went through a lot of iterations and changes in visual style. It put a lot of strain on our artists but it was not in vain since the end result is simply gorgeous! We’re very proud of the work we did.
What do you keep from this experience?
This was a great experience for Rodeo since we acted as the main VFX vendor for the film. We delivered a very wide range of visual and it was a great honor to have participated in the making of this movie. Working with Nick Brooks and Louis Leterrier was a very pleasant and enriching experience.
How long have you worked on this film?
We worked for over a year.
How many shots have you done?
We ended up delivering around 350 shots.
What was the size of your team?
We had a team of about 55 artists working on this project.
What is your next project?
We’re wrapping THE HUNGER GAMES: CATCHING FIRE and JERUSALEM 3D in IMAX and our next projects are undisclosed but you’ll hear about them very shortly.
A big thanks for your time.
// NOW YOU SEE ME – CROWD DUPLICATION – RODEO FX
// WANT TO KNOW MORE?
– Rodeo FX: Dedicated page about NOW YOU SEE ME on Rodeo FX website.
© Vincent Frei – The Art of VFX – 2013


