Sirio Quintavalle started as a trainee at Framestore almost 15 years ago. He has worked on films like LOST IN SPACE, THE GOLDEN COMPASS, THE DARK KNIGHT or CLASH OF THE TITANS. In the following interview, he talks about his work on SHERLOCK HOLMES: A GAME OF SHADOWS.
What is your background?
I studied Physics then entered the industry as a trainee at Framestore working in the longform television department on shows such as WALKING WITH DINOSAURS.
How did Framestore got involved on this show?
I’m not sure on the exact decision making process but our work on the first SHERLOCK HOLMES, the production being based in London and Framestore’s great reputation were probably all factors.
How was the collaboration with director Guy Ritchie and Production VFX Supervisor Chas Jarret?
Guy and Chas knew each other well from the first movie and they had a great understanding. Chas was great to work with and was always pushing the boundaries, whether with new camera rigs, robotic arms or even flying his own model helicopters to get the perfect angles for the effects shots. Guy is a larger than life personality both onset and during post review sessions which he always brought to life with his colourful turns of phrase.
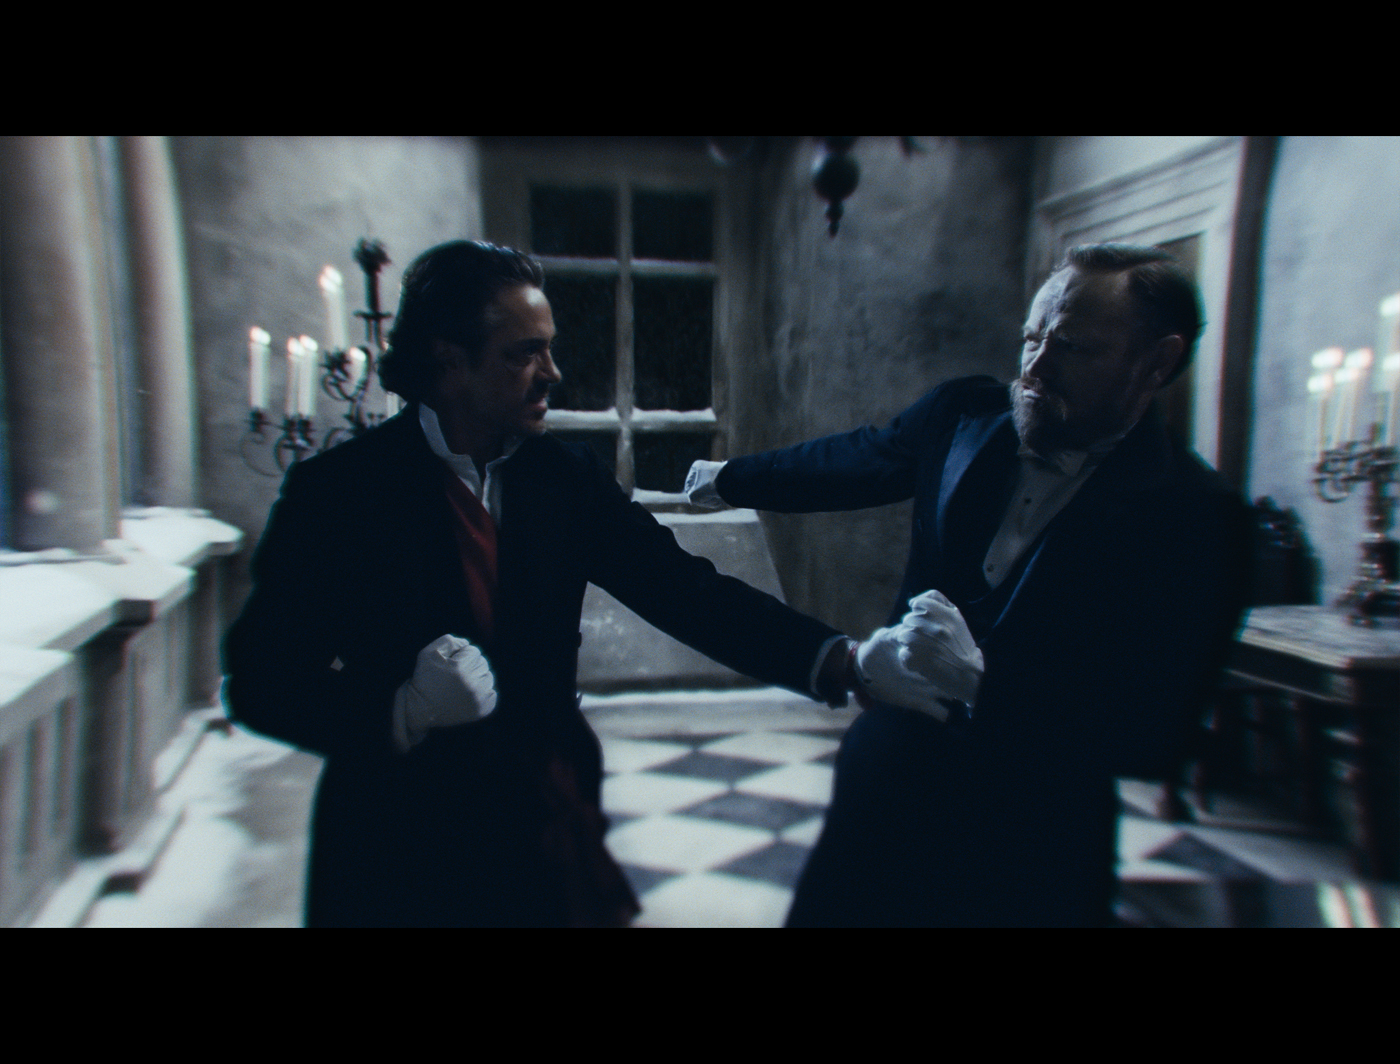
What have you done on this movie?
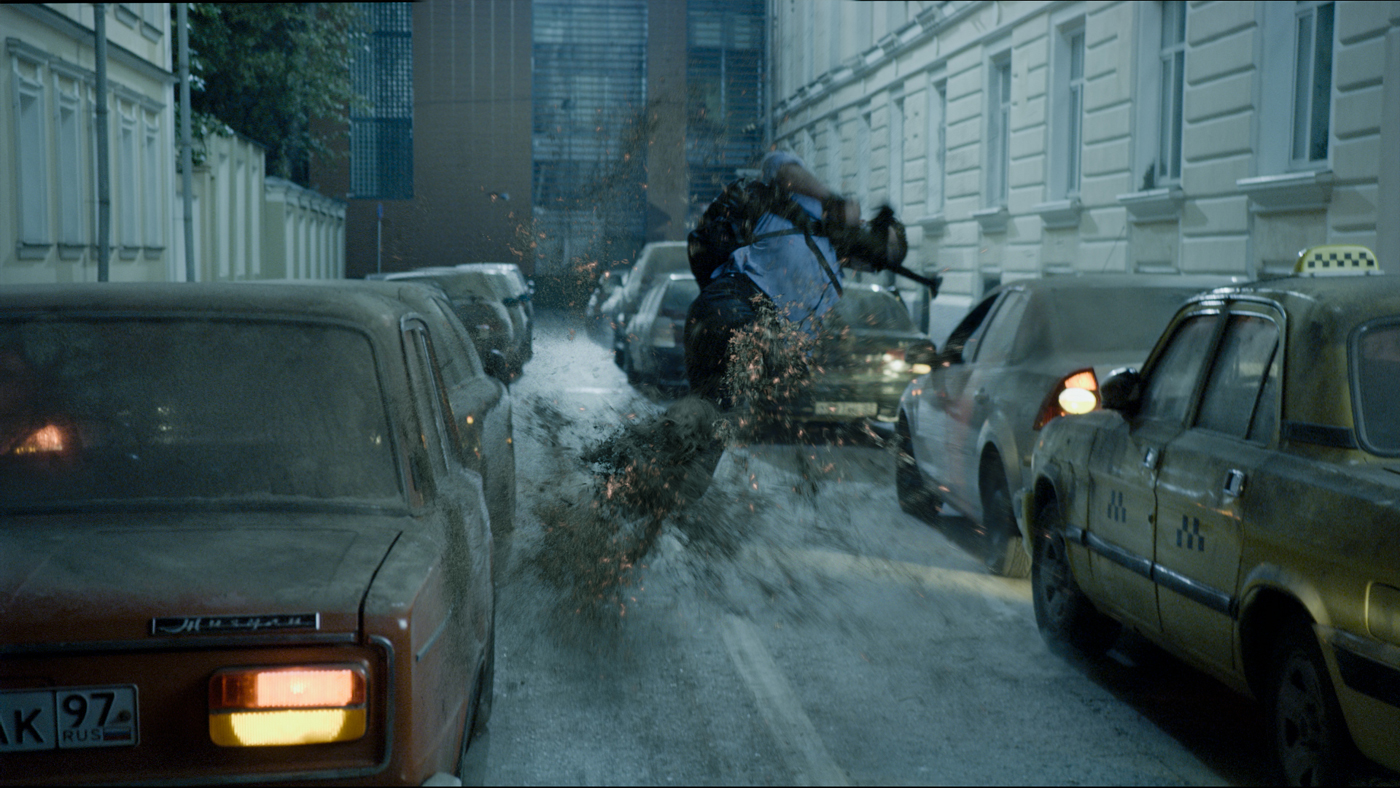
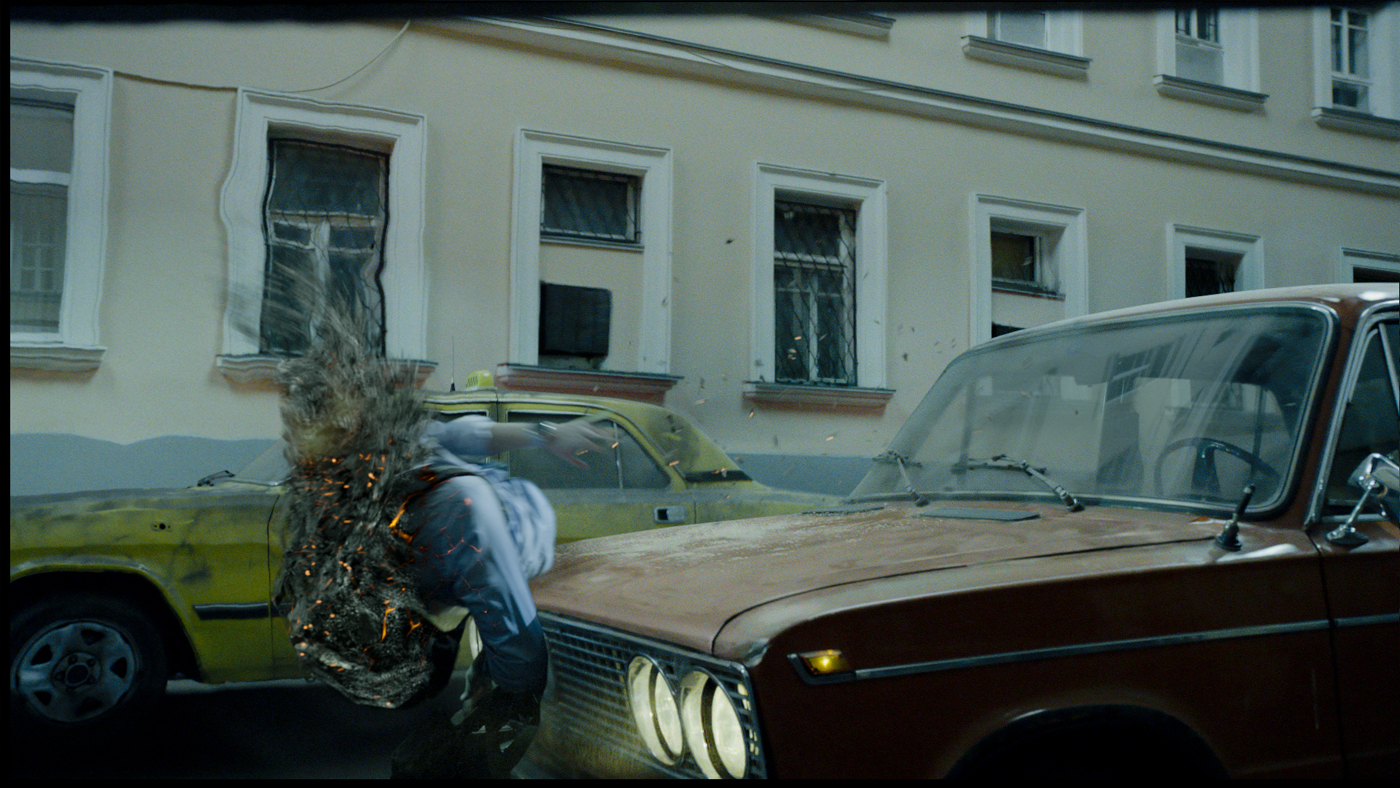
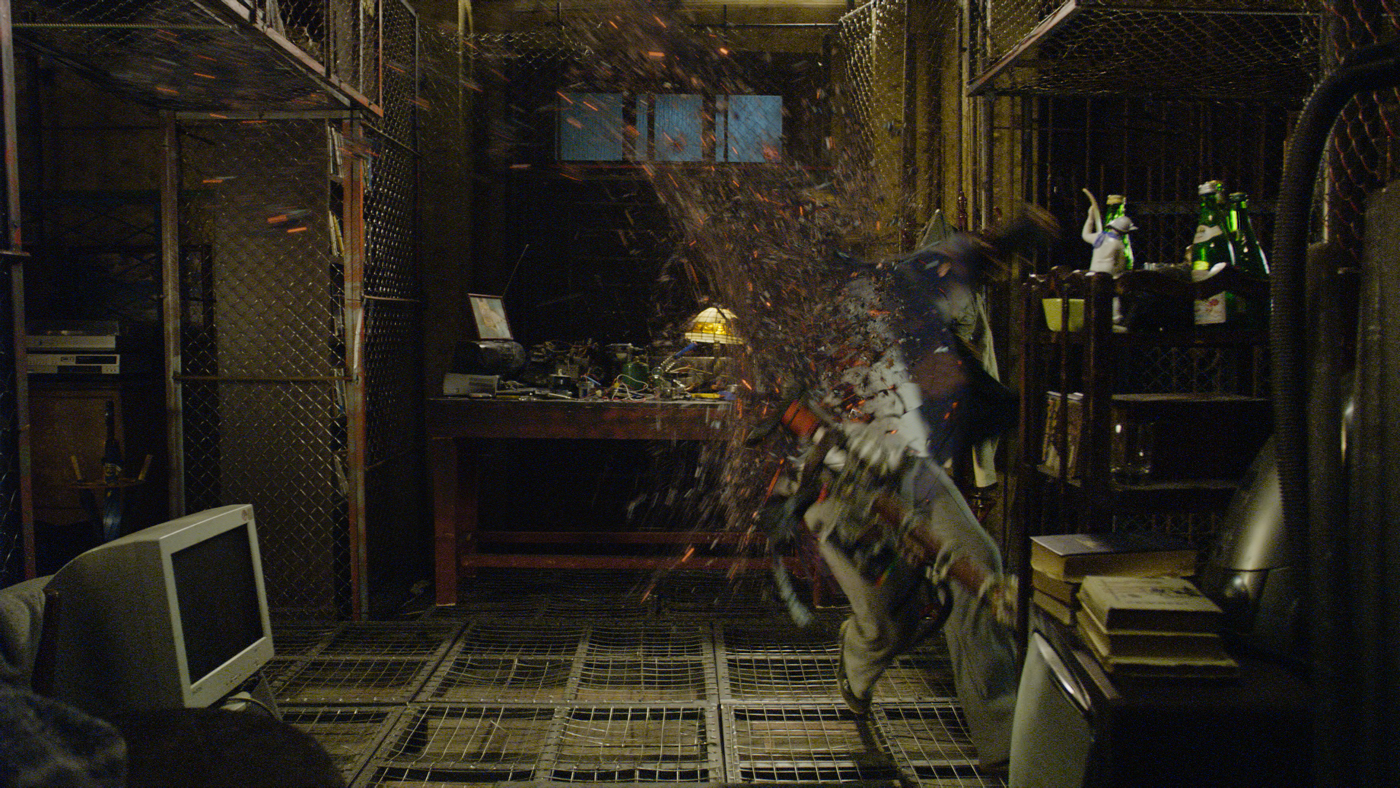
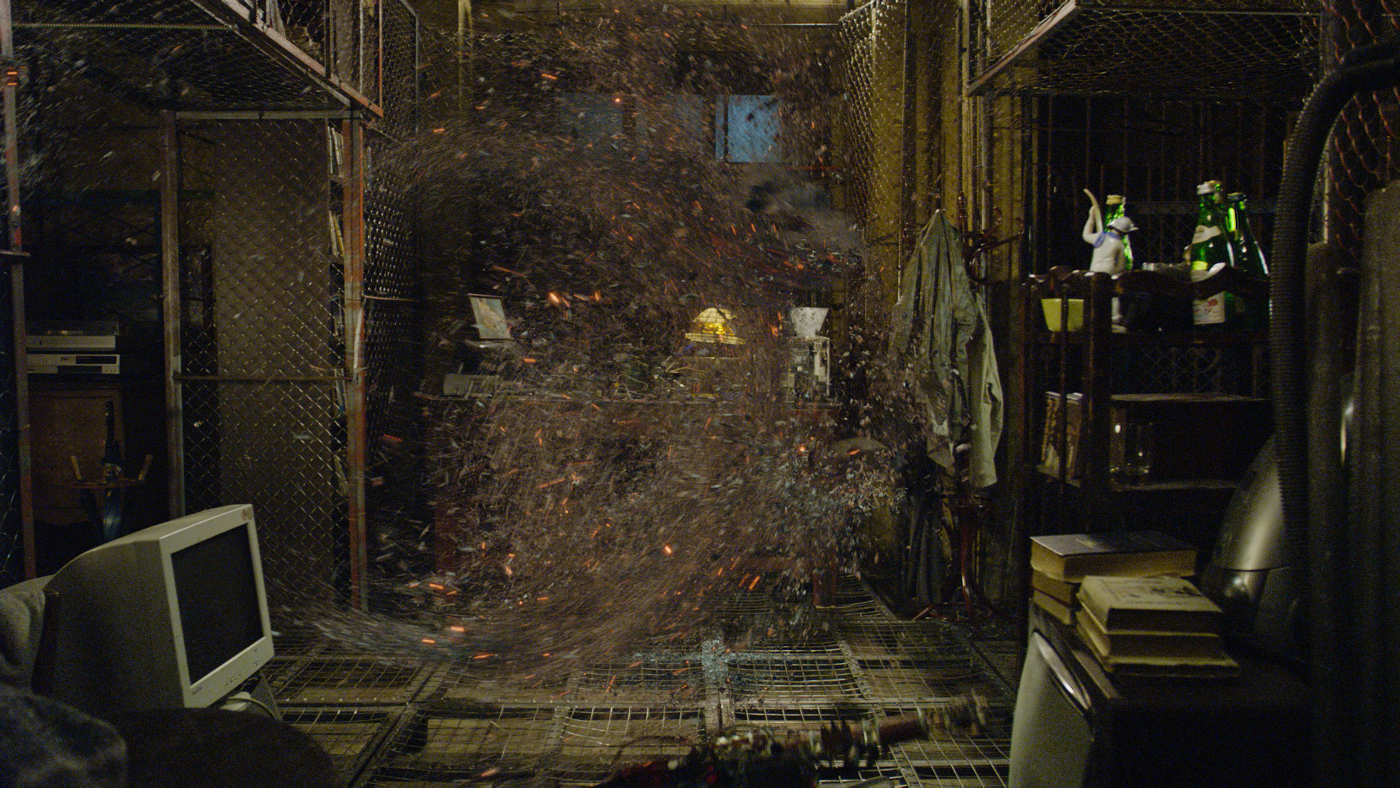
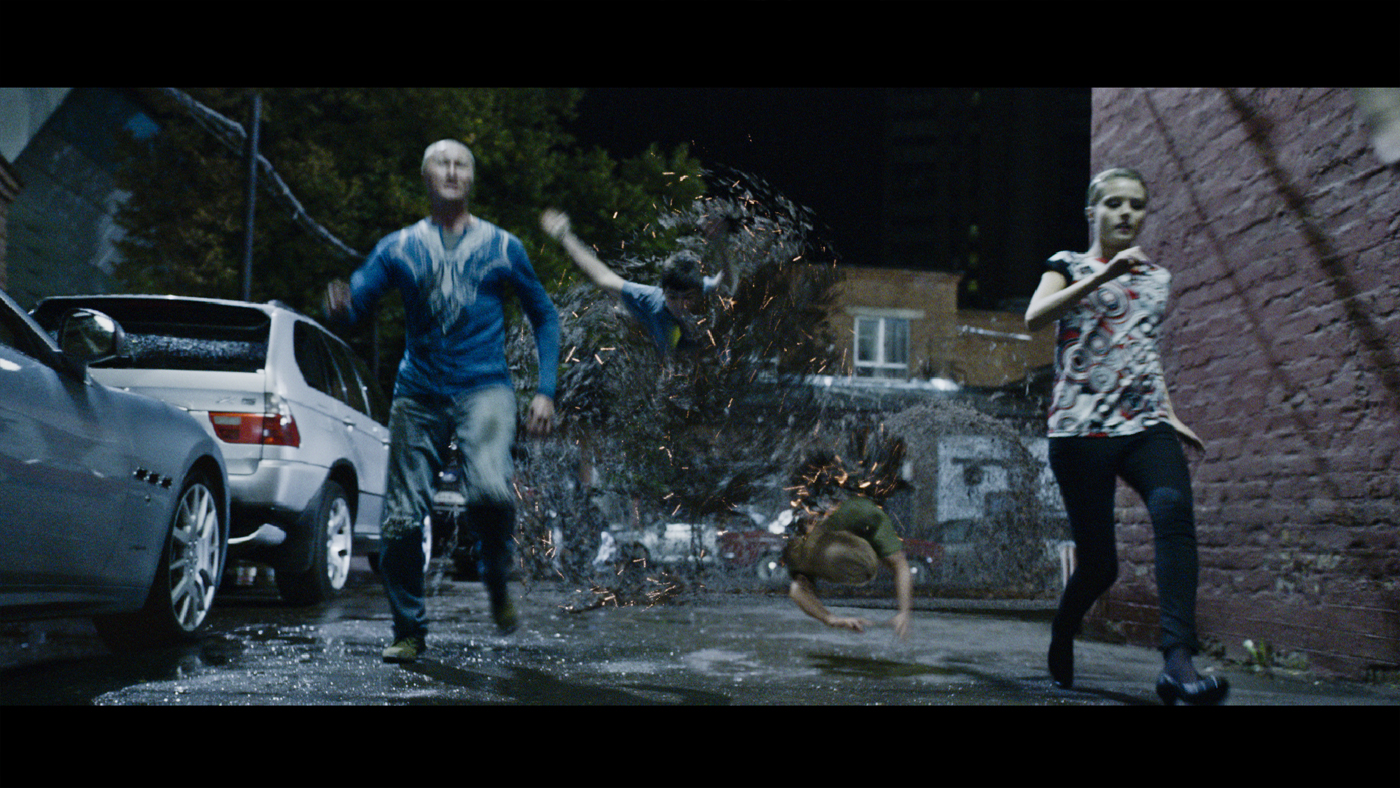
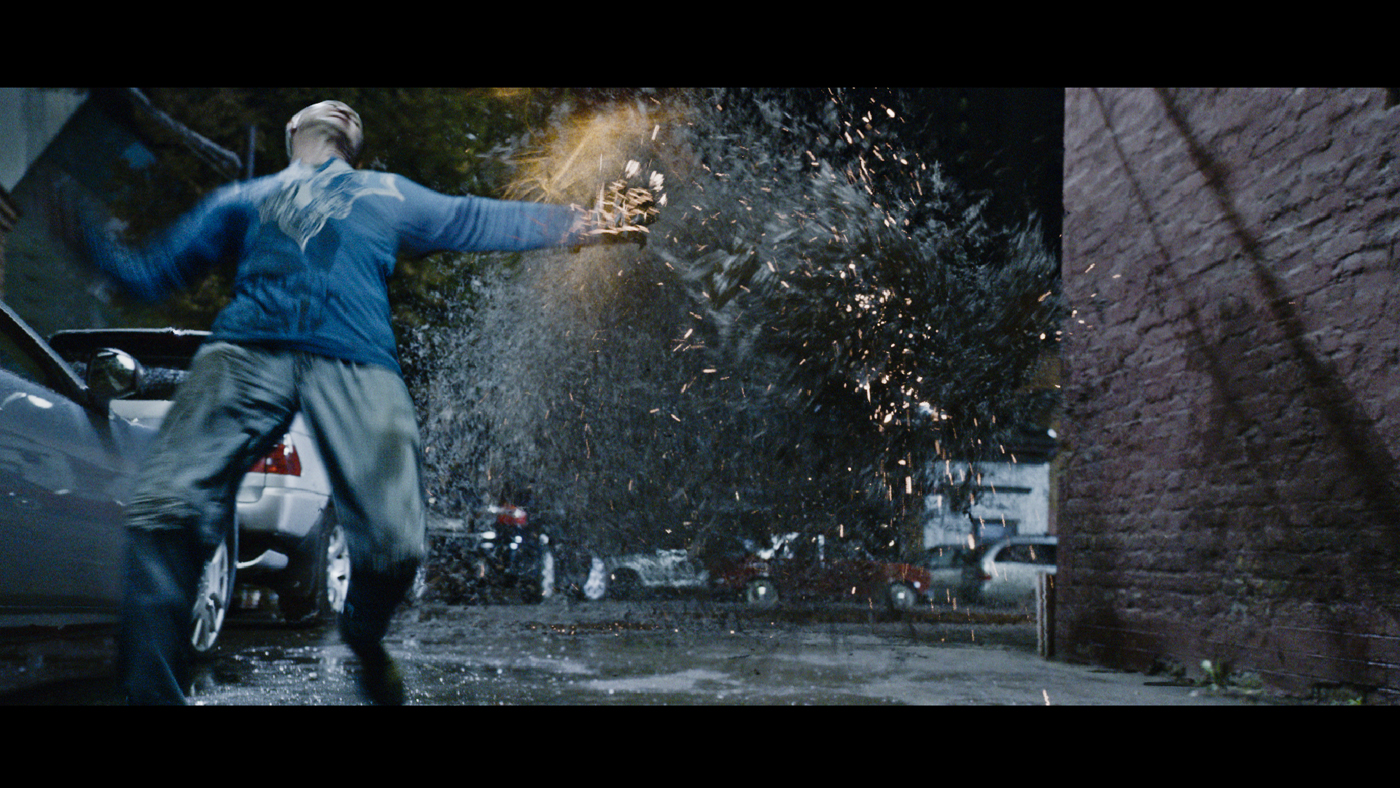
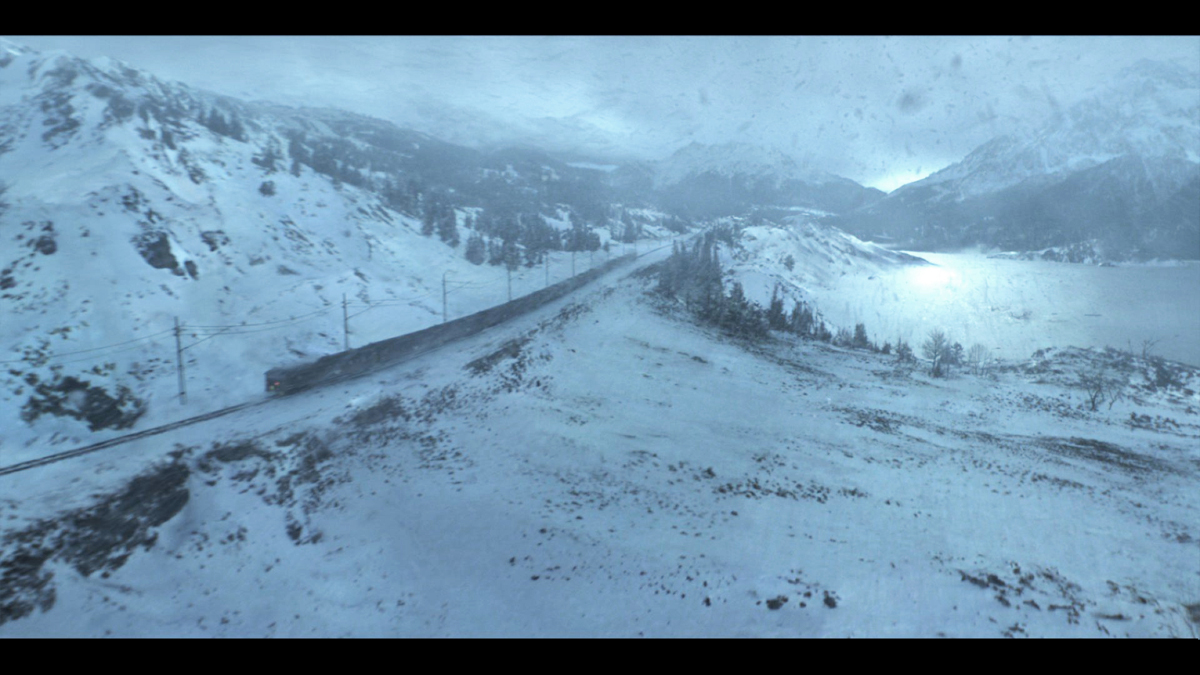
Set extensions and stunt cleanups for the fight with the assassin; environments, green screens, steam train and lots of explosions for the train battle; environments for the alpine sequence, a lot of cg breath and a big, ultra slow motion fall of a waterfall for the finale.
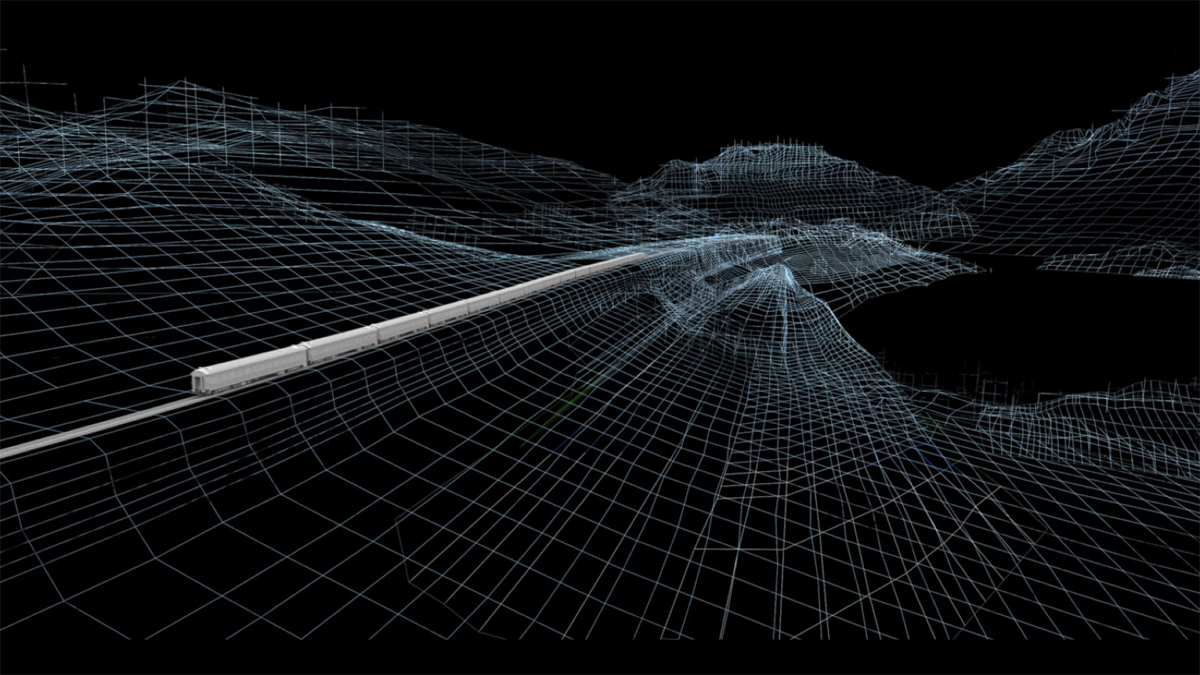
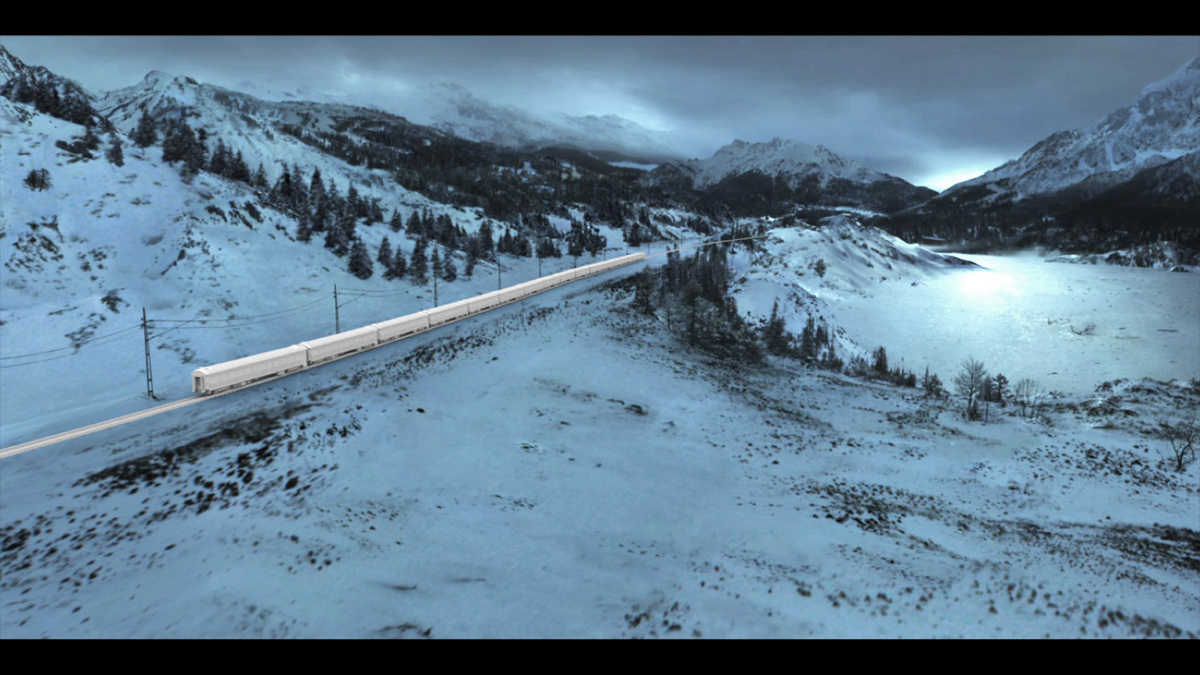
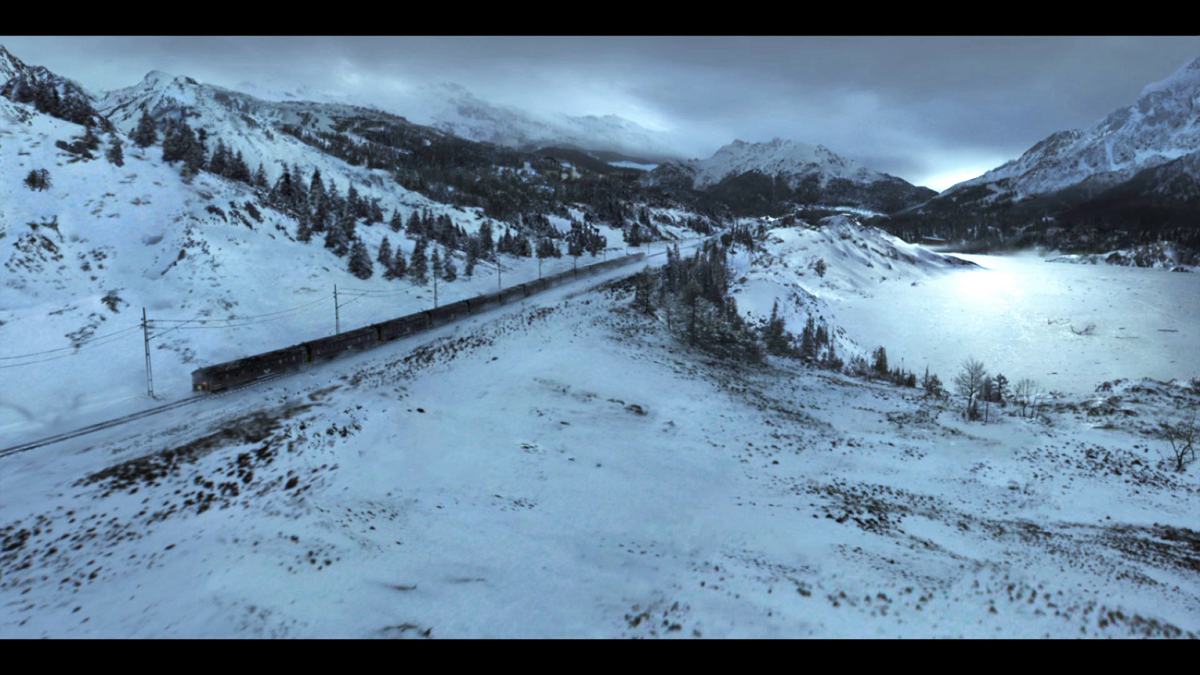
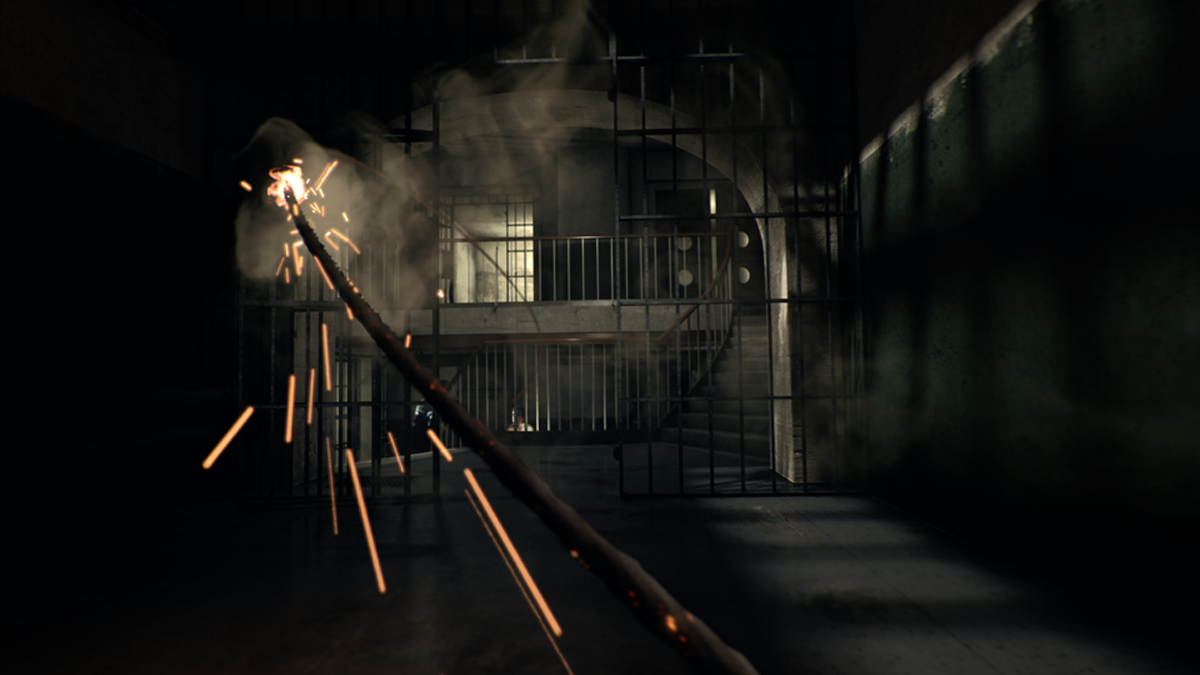
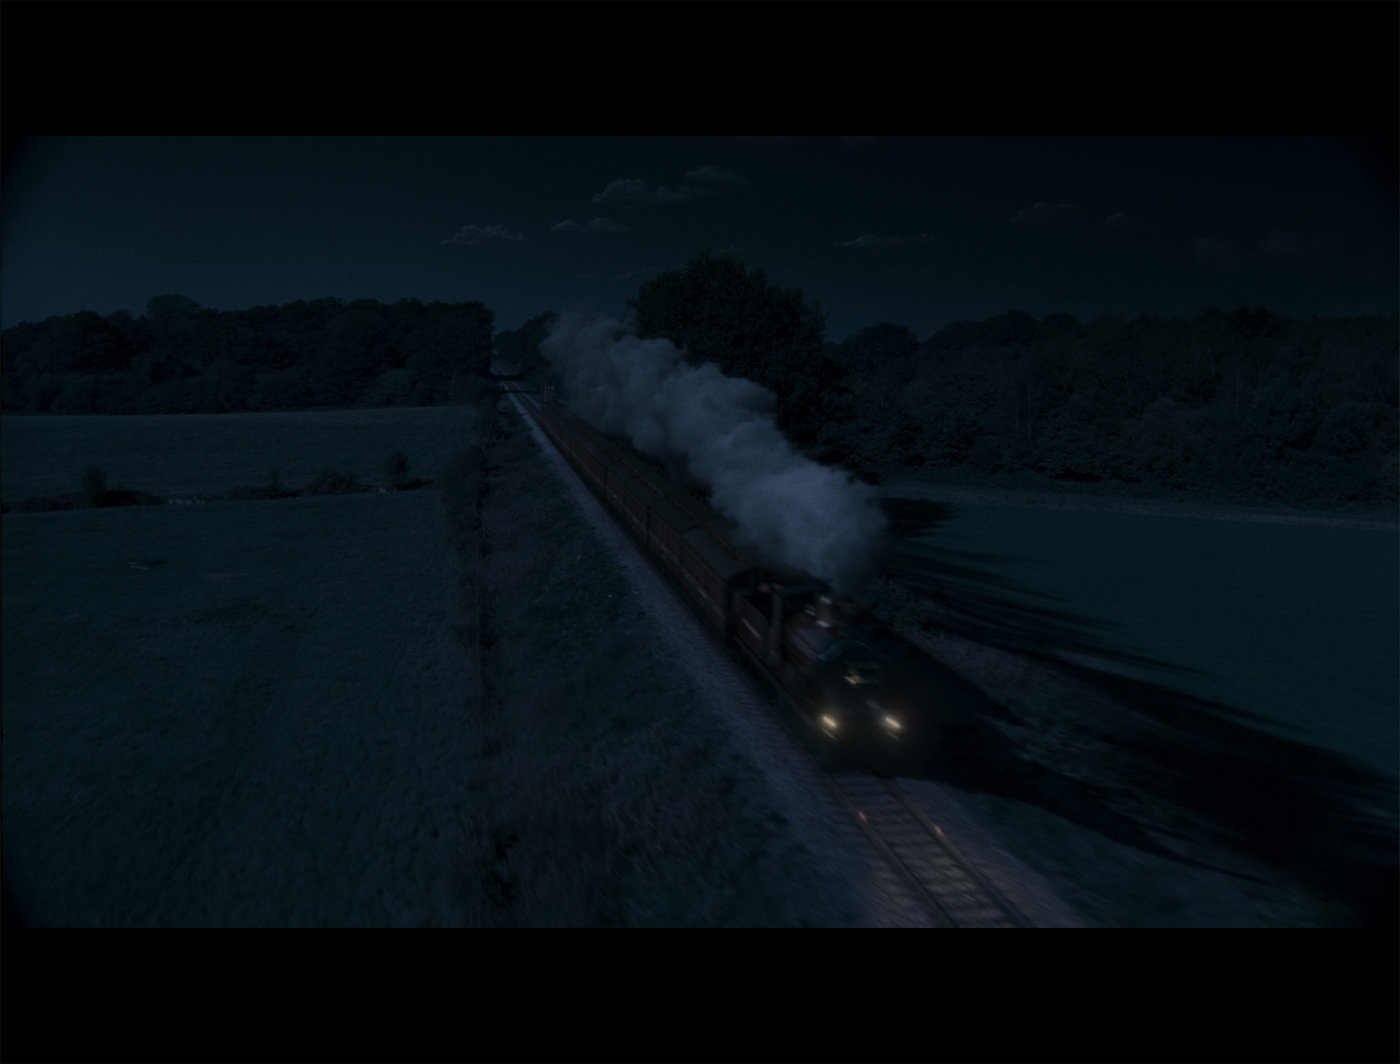
How did you create the huge environment for the train sequence?
A mix of live action panocam footage take from a disused railway, helicopter plates and cg modelling using Maya and Onyx tree and our in house fur system for grass and additional foliage. The panocam footage was shot using overlapping cameras to allow us to stitch together a moving environment which covered all the angles for the green screen work inside the train and for some of the simpler exterior shots. Where possible we used real footage and even with some of the more complicated camera moves which didn’t allow a 2d approach we still kept filmed elements for the horizon and more distant environment. This approach ensured that the scene had a level of realism that is often lacking in fully cg shots.
Can you tell us more about the shots in which Holmes and Watson are outside the train?
We had a single carriage on a green screen so we were able to film Jude and Robert leaving the train and climbing on the outside but that was it. We knew that we couldn’t use motion control for the environment as we couldn’t put the rig on a moving train so instead we used a libra mount on a crane arm attached to a real train and filmed approximate camera moves. These were then reworked and manipulated to match the principle photography in post. We were then able to add in the additional carriages and steam train which we built in cg to match the set carriage. We also added reflections and lighting onto the practical carriage as well as steam whipping past to give a sense of motion.
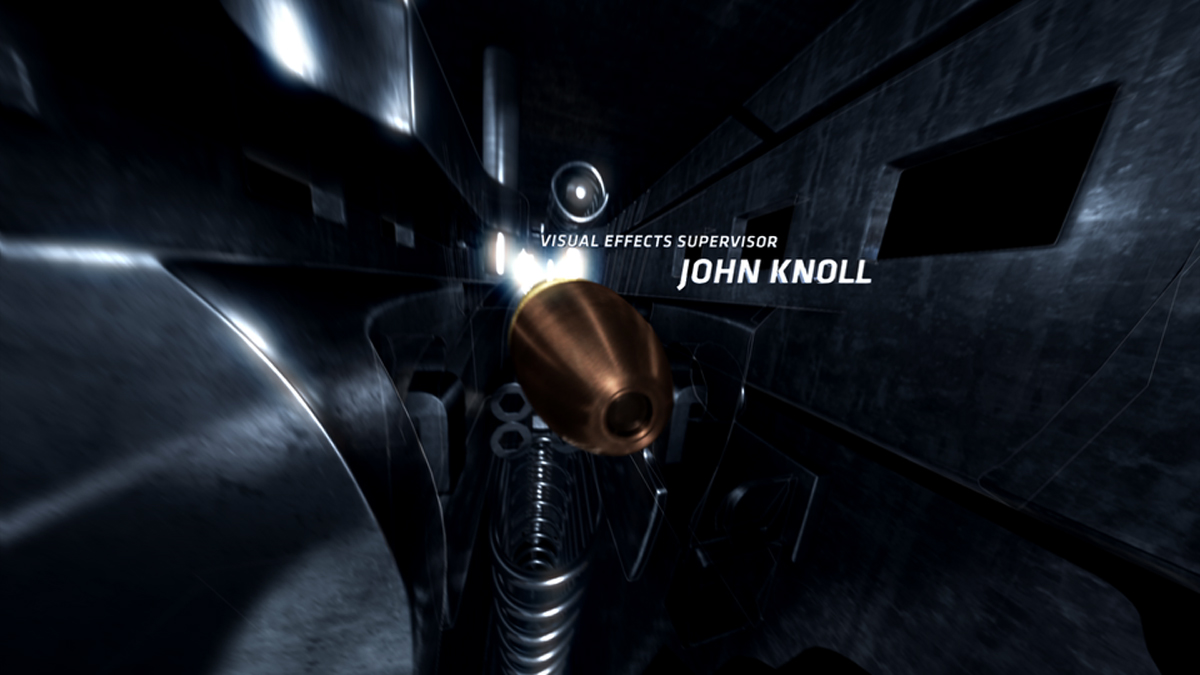
Have you used previz for the shot in which we are inside the gun?
Guy felt that the whole plot point of the lipstick blocking the gun and causing it to backfire was being lost amongst all the action of the train sequence so he wanted a shot to show explicitly what was happening. He shot the gun tracking round the gun barrel then said now you push in and you’re in Chas (Jarret) land. We then set about prevising some ideas in house for how the mini sequence would work. There were a few key points that we needed to show; the firing pin hitting the bullet, the bullet igniting and the bullet hitting the lipstick case. We worked on the assumption that we were using a miniature camera that could work in the tiny confines of the gun barrel and created camera angles and moves accordingly. We presented a number of ideas to Chas and then Guy before we locked down the sequence.
Can you explain to us in detail the creation of this shot?
Guy is hugely knowledgeable about guns so it was important that we got little details right like the shape of the firing pin and the indentation that is left on the bullet casing. We were in macro world so we were able to play with some beautiful shallow depth of field and close up surface textures. In reality the interior of a gun would be dark and visually uninteresting so we had to work on making the lighting and textures somehow believable and engaging. To achieve this we used extensive ray tracing and the Frischluft defocus tools for Nuke.
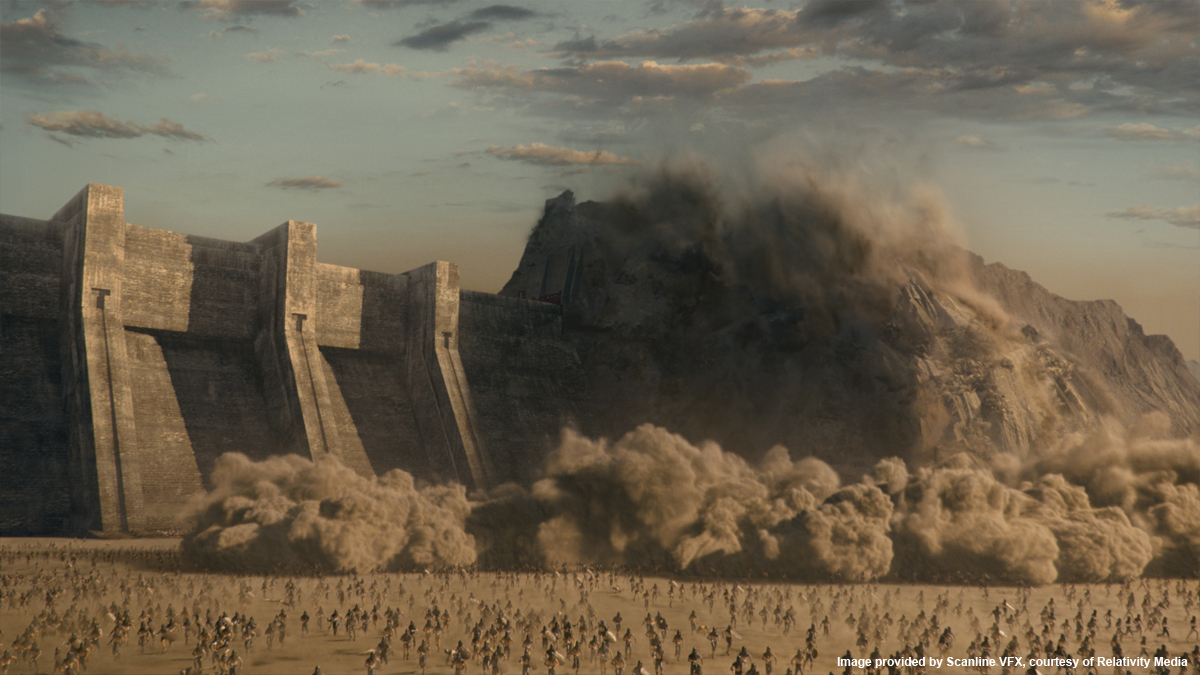
Can you tell us more about the creation of the fortress and the Swiss Alps?
The fortress was originally going to be a live action helicopter plate which we would then track into a cg alpine environment with a waterfall. The shots developed a bit and the camera moves changed so we weren’t able to used the actual footage but photographic reference taken during the shoot proved invaluable when recreating the fortress in cg.
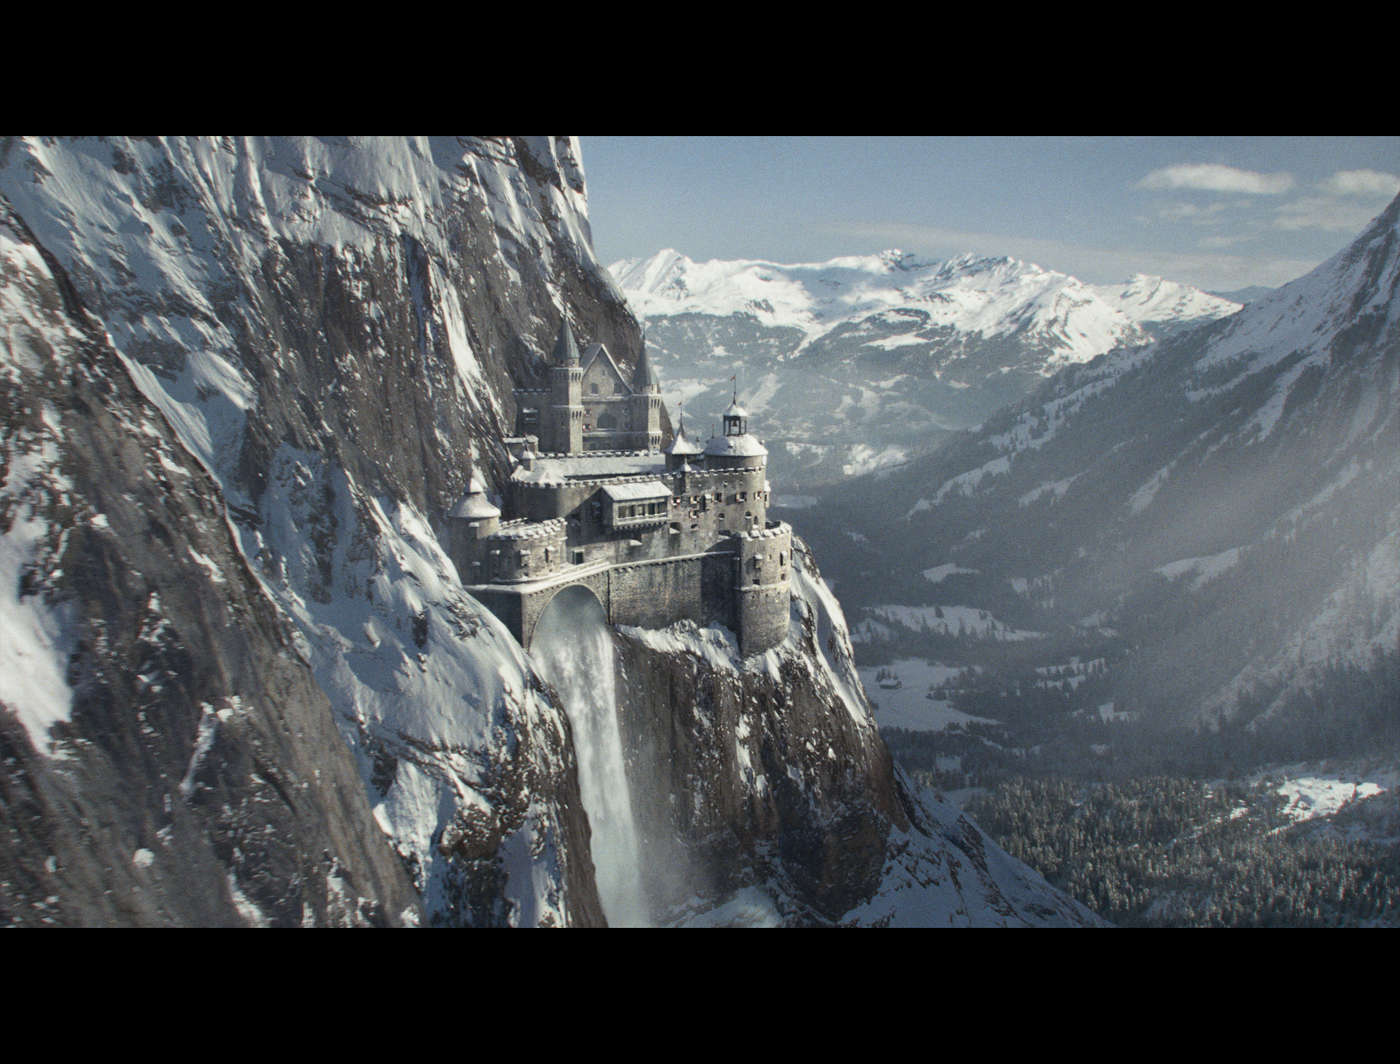
What references did you received from the director for the fortress?
The fortress was originally based on Hohenwerfen in Austria but it felt too military so we added turrets inspired by the Neuschwanstein Castle.
How did you create the huge water fall?
Chas’ intention throughout the filming was to do as much practically as possible and to that end he literally scoured the Earth for suitable waterfalls. The Reichenbach falls from the novels was not impressive enough so we filmed waterfalls in Norway, then Yosemite and finally Canada, we even shot a few extra elements in Iceland. They needed a certain amount of manipulation but covered all the waterfall shots, apart from one.
Can you tell us in detail the creation of the impressive shot in which Holmes and Moriarty are falling in variating speeds?
This was always the biggest shot of the film. Guy wanted to see Holmes and Moriarty tumbling towards us and then enter a moment of almost frozen time as we fall with our protagonists and see their different facial expressions, Moriarty screaming in terror with Holmes in a zen time like calm. Knowing how close we would have to get to the actors digi-doubles were ruled out early on but to get the dynamism of the fall we couldn’t use traditional wire work. Chas had been interested in the precision and versatility of industrial robotic arms normally used for assembly line construction and wanted to use them for filming. So after some extensive in house previs work to make sure we hit the time ramp in and out of the slow down and the general camera move just right we got two « Kuka » arms and attached specially moulded fiberglass harnesses to them. We transferred our previs camera to a motion control rig and programmed the arms to rotate about each other using stunt doubles to match out animation. We wanted time to slow down, not quite to a stand still but slow enough that we could really focus on the faces and see droplets of water in sharp focus. It was also important that we used a multiple of 24 fps so we wouldn’t have interpolation problems when returning to real time at the head and tail of the shot so we shot at 432 frames per second on the Phantom Flex camera.
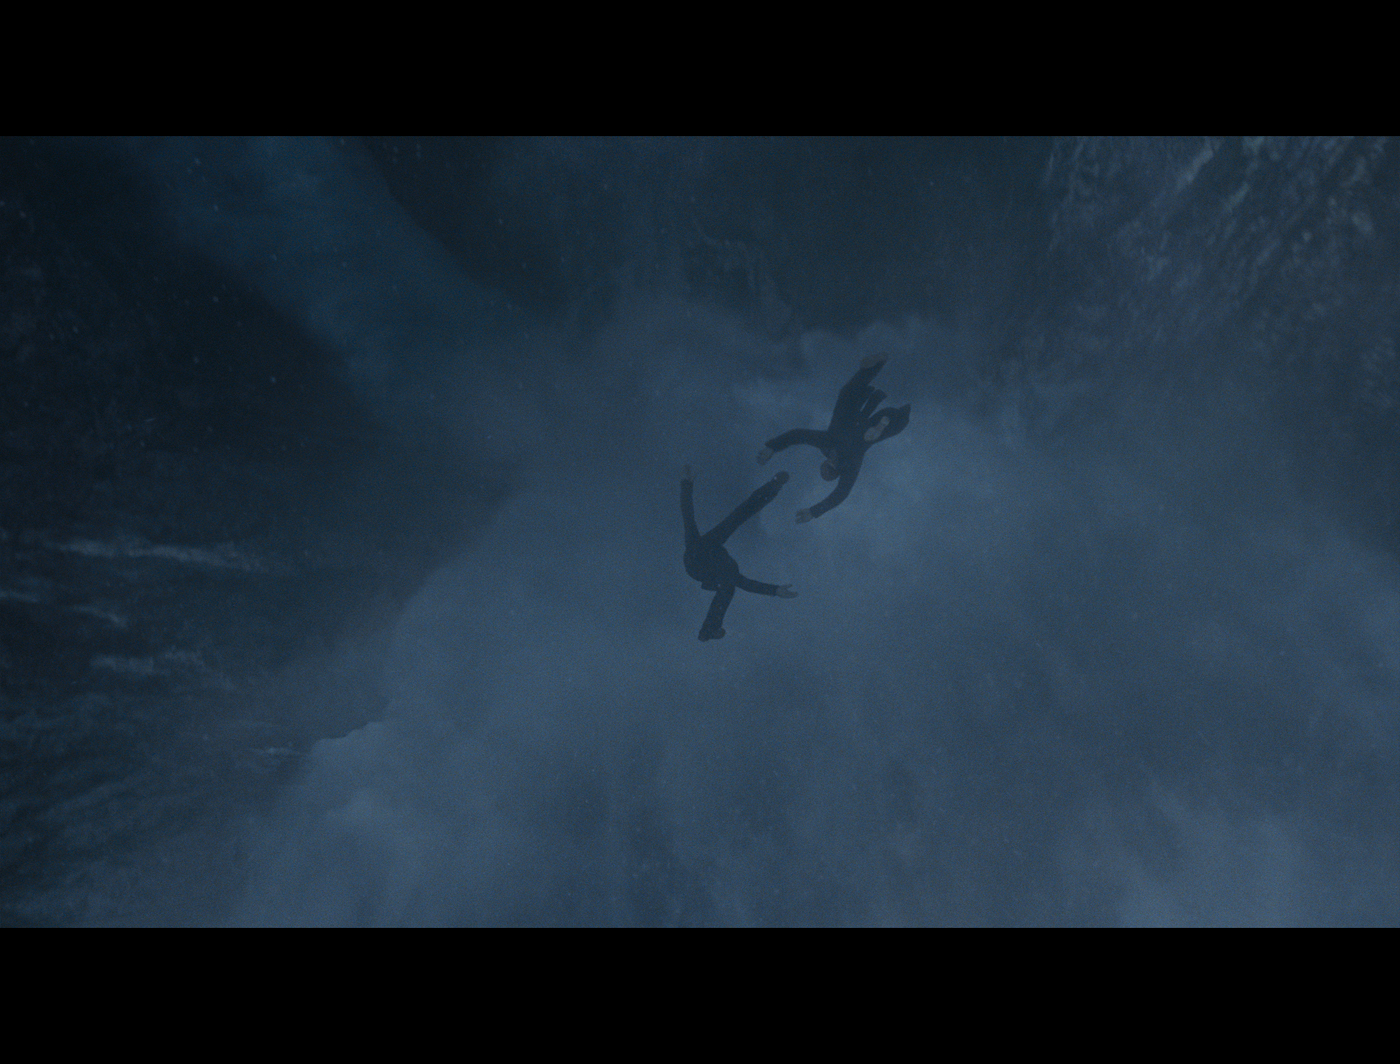
We pushed really hard to squeeze as much live action water into the shot as possible, the final section as they fall away from us was the most straight forward as the camera had almost come to rest so we were able to film a matched camera from Hunlen Falls in Canada. The central section looking straight on was slightly trickier but Chas shot some great elements with a specially prepared rig to dangle a Phantom camera on a wire from the base of a helicopter to allow it to get safely close enough to the falls. These allowed us to layer up and tile elements for this section. Even with all the filmed elements there were still two big sections which we needed to generate in cg. The top part where we start very close to the lip of the falls and a joining section as we come out of slow motion into the final framing. We used Naiad for the first and mixed it with Houdini mist elements. For the other section we had to match the look of the live action plates before and after seamlessly and one of the things that we found was that the waterfall very quickly became aerated and developed beautiful v shaped plumes with trailing mist. This was going to be very difficult to achieve using a sim based approach especially given that the water had already dropped 500 meters to reach that stage so we went for a more hand crafted approach in Maya and placed leading edges to match the footage with particle emitters driving the mist. The droplets in the frozen time section were made using Nuke’s new particle system which gave us enormous creative control and quick turn around.
How did you manage so many elements and the huge amount of data storage?
We used our in house asset tracking tools,had to be very careful about deleting outdated versions and used some big disks.
Have you develop specific tools for the particles?
A couple of tools fCloud which allowed us to reuse cached particle simulations in both Maya & Houdini and fMote, an elegant node based particle processing system. We also developed some tools to deal with the time ramping.
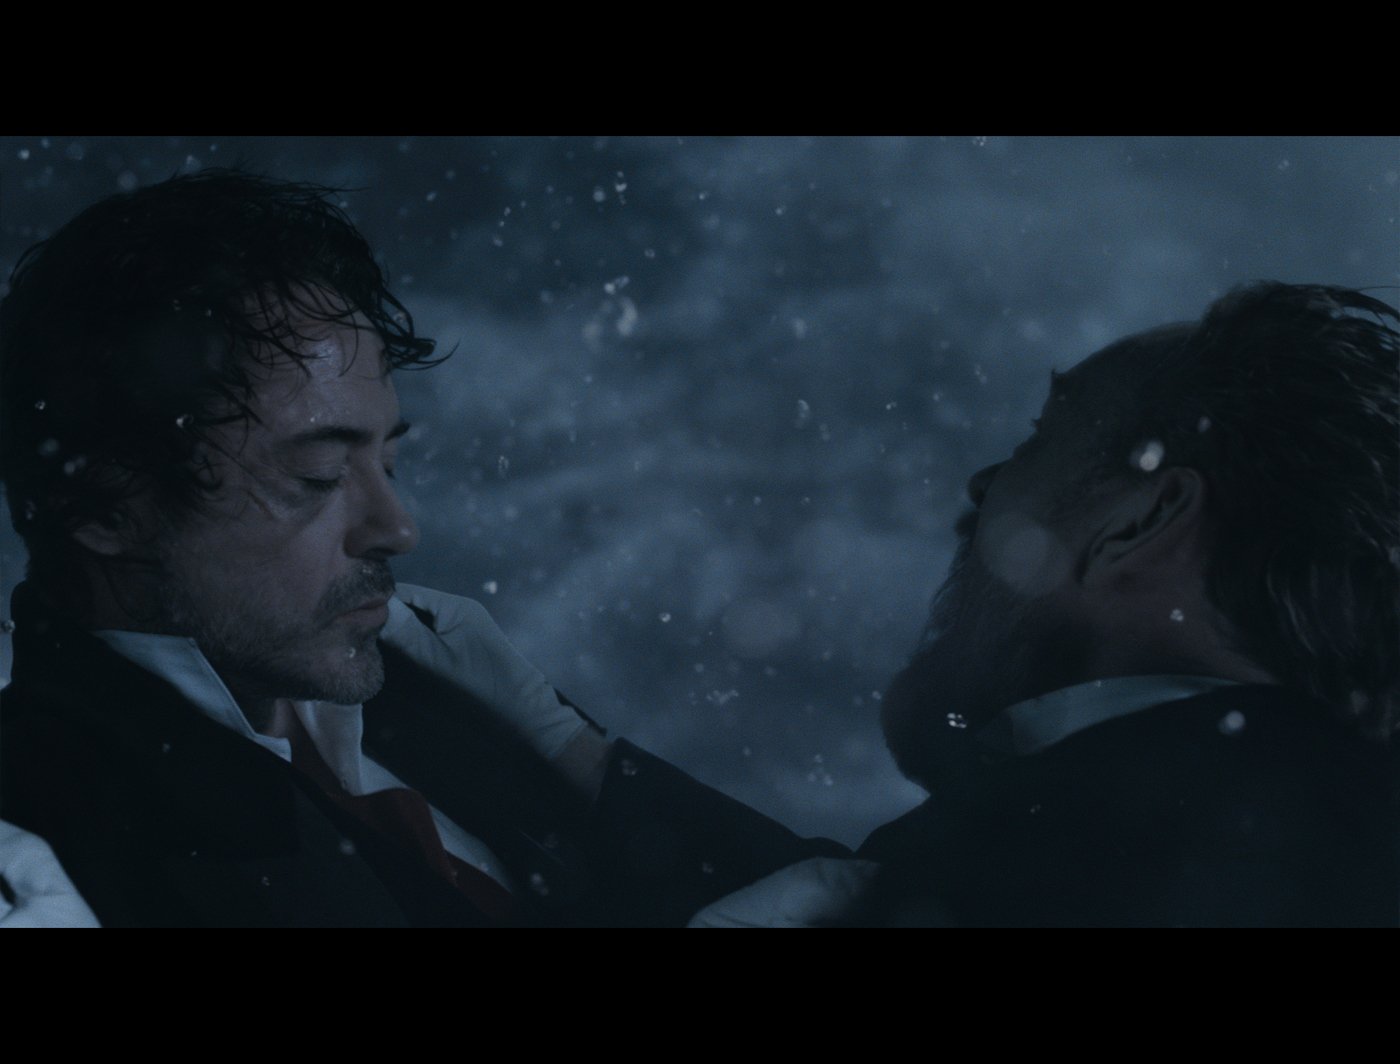
Can you tell us more about the breathes for the final sequence?
We tried to do this in camera at first so the whole set was kept very cold, the crew were all freezing but as soon as the lights went on and the action started in warmed up so much that no cold breaths were visible. At first I was nervous about adding the breaths in post as it was a very dialogue heavy scene and has been done with varying levels of success in recent films. We had a lot of shots to do so we needed a versatile system but also wanted to use real elements as much as possible. We used a variety of individual syllable breaths filmed against black and emitted them from a tracked source using the audio track to drive the timing. In this way we were quickly able to have a pretty good first pass of the whole sequence. Then we would select the appropriate element for each individual breath after which we made minor tweaks to get the look just right. This was packaged up to run in Nuke in a very controllable way so multiple artists could pick it up and get through the volume of shots needed.
What was the biggest challenge on this project and how did you achieve it?
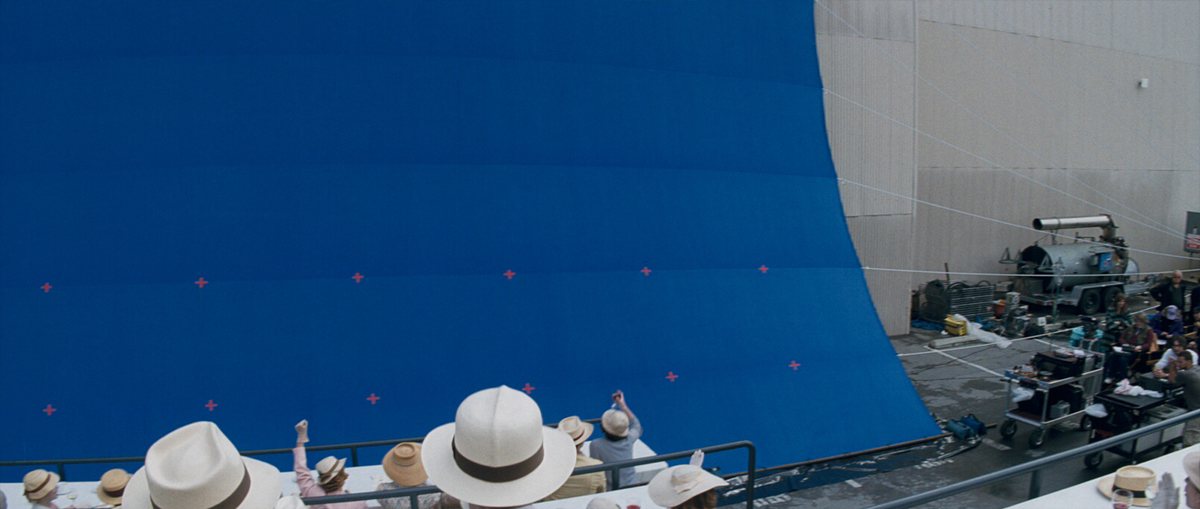
The waterfall shot was definitely the biggest challenge and some of the unsung heroes were from the paint and roto department. The clean up was hugely difficult not least because the preferred performances for the actors came from different takes and had to be spliced together. The actors’ harnesses distorted their costumes and large parts of their bodies had to be replaced and although we were shooting on a green screen stage there was no way of preventing the actors from passing in front on wind machines or robot arms at some point in the move. Of course most of this had to be done at super slow motion as well.
Was there a shot or a sequence that prevented you from sleep?
I can be a bit grumpy if I don’t have enough sleep so I try not to let it get to me.
What do you keep from this experience?
Being dangled out of a helicopter to take stills photography for the recreation of the Swiss Alps was pretty memorable.
How long have you worked on this film?
About a year in total.
How many shots have you done?
Just over 500.
What was the size of your team?
100.
What is your next project?
Carl Rinsch’s 47 RONIN with Keanu Reeves
What are the four movies that gave you the passion for cinema?
THE GODFATHER, IL CONFORMISTA, BIG WEDNESDAY, WITHNAIL AND I.
A big thanks for your time.
// WANT TO KNOW MORE?
– Framestore: Dedicated page about SHERLOCK HOLMES: A GAME OF SHADOWS on Framestore website.
© Vincent Frei – The Art of VFX – 2012