At the beginning of this year, Jason Billington had explained to us the work of Method Studios on BRIGHT. He talks to us today about his work on SKYSCRAPER.
How did Method get involved on this show?
We had previously worked with Craig Hammack, Petra Holtorf-Stratton and ILM on DEEPWATER HORIZON. Due to the similarities between the two films and the visual effects work required, it was a natural fit to do this project together.
How was the collaboration with director Rawson Marshall Thurber?
We had the opportunity to work directly with Rawson on the very first shot of the movie where the Legendary logo turns into snow, and the camera pans down over the cabin in the woods. As it was the very first shot of the movie, Rawson had an attachment to it and wanted to work closely with us on it. While he knew what he wanted, he left it to us to realise his vision. We added CG falling snow to the entire length of the shot, shattered glass and bullet hits to the cop cars, and an entirely CG landscape for the background set extension.
How was the collaboration with VFX Supervisor Craig Hammack?
We previously worked with Craig Hammack on DEEPWATER HORIZON, so we knew each other quite well from that project. We have a great relationship and both know how and what we are after for the final product. We always seemed to be on the same page which made for an effective and enjoyable collaboration.
Can you explain in detail about the creation of the crane and Hong Kong?
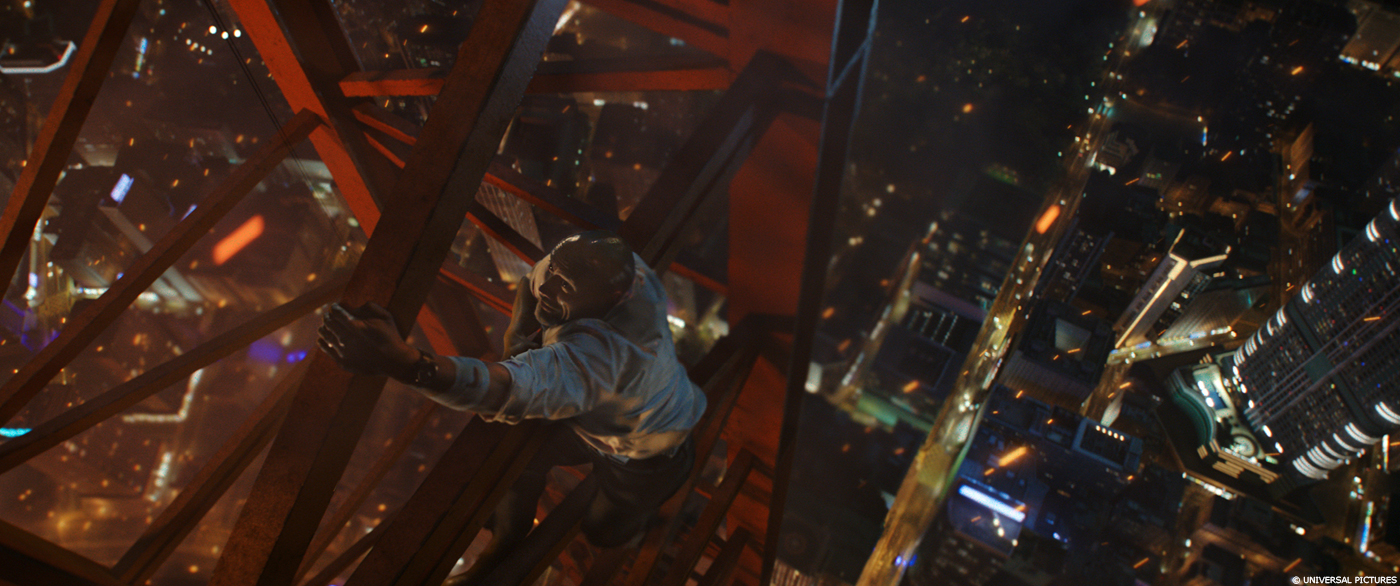
The production designer had a design in mind for what the crane should look like, and this is what the principal photography was based on. The on-set production crew created small sections of the crane for Dwayne Johnson to interact with on a green screen. We then extended the plate photography of the crane in every shot to show the full crane. In most of the shots, the crane was entirely CG.
Our model supervisor visited a local crane supplier and took photos of the various parts for textures and reference. He also spoke with crane operators to find out exactly how a crane operates and moves, specifically when on top of a building. This translated really well into the final crane asset, which was shared throughout the various vendors. Everything about the crane was built as fully functional – all the cables, pulleys and wheels were rigged for animation and moved correctly based on the wind and real-world physics that you would expect at a turbulent height.
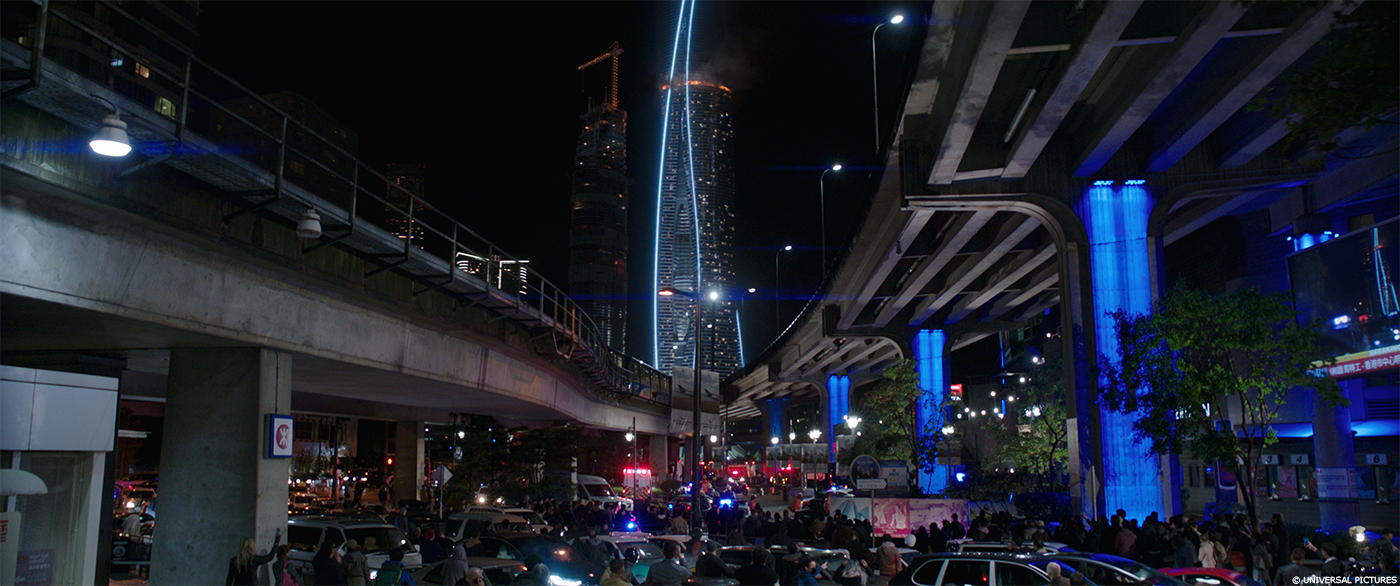
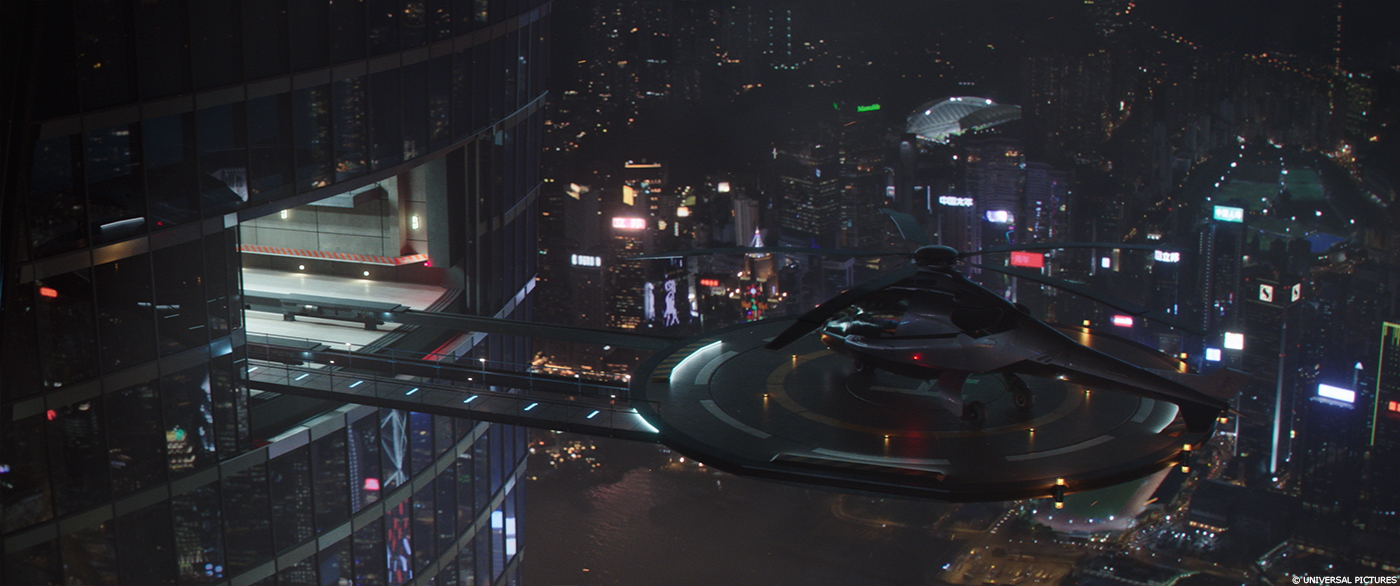
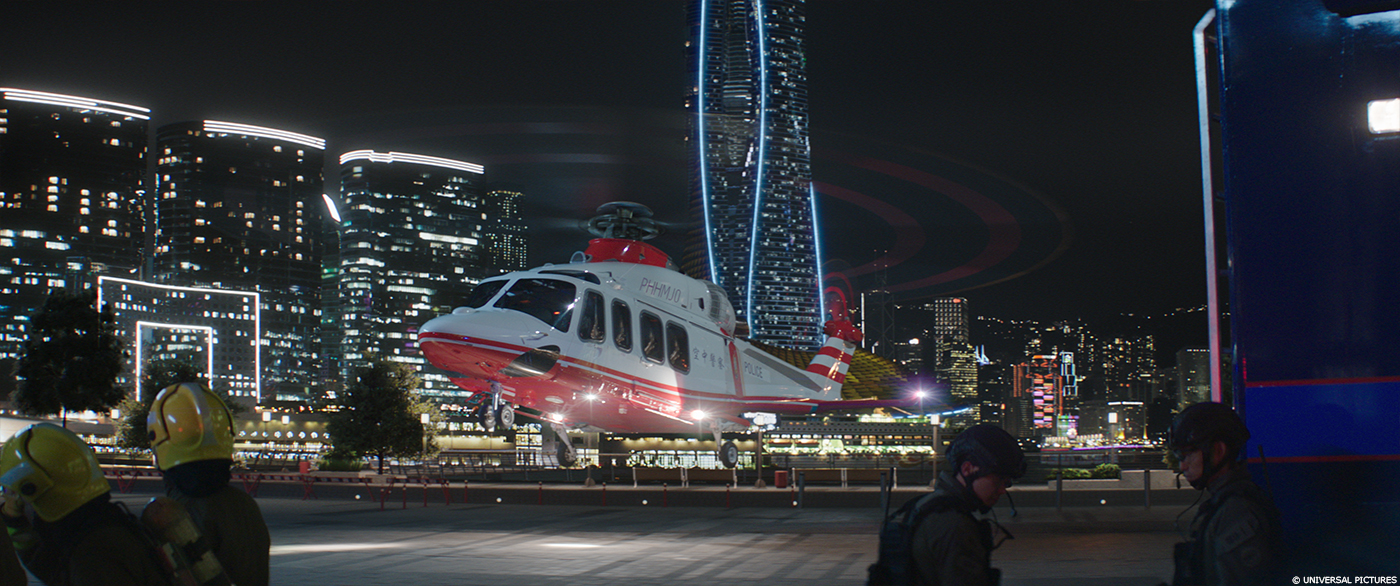
A team was sent to Hong Kong to get photography for the creation of cyc’s and background imagery. We created 2 cyc’s for the two different heights of the building – one for the height of the crane sequence, and the other for the top of The Pearl. Approximately 500m and 1000m respectively. Due to the film being set at night time, we found that a lot of the shots had a dark sky background. This wasn’t conducive to representing the height and vertigo of the situation. The audience needed some sort of reference point and variation in the skyline, so we added the Hong Kong skyline into many of the shots. We also added light pollution and gradient into the dark night sky. The horizon line, and especially other building reference points around Hong Kong really help in giving size, scale and location to the audience.
Can you tell us more about the digi-double creation of Dwayne Johnson?
The digi-double of Dwayne was a shared asset between Method and ILM. We needed to develop it further for a few close-ups of Will Sawyer’s leg, as seen in the bathroom scene towards the start of the film. Dwayne was shot wearing a green sock on his real leg, he would tuck that leg out of the way and a prosthetic residual limb was attached to his knee area so Dwayne had something to interact with. We later replaced this practical residual limb with CG renders that we sculpted and textured from real amputee references.
How did you handle the reflective aspect of The Pearl?
Reflecting dark night sky can be quite boring and plain – there is no complexity to it. We needed to force some sort of the street and surrounding reflections of buildings into the windows. Once the audience sees something recognisable in the reflection, it immediately reads as glass. It also helped to have some furniture in the rooms. For the storyline, the rooms about half way up and higher were all supposed to be empty. Adding furniture to the interior of the rooms gave a real sense of scale and texture to the building and the glass exterior.
For consistency across the sequences, we built several 360° and partial cyc’s for lighting and comp, including the massive undertaking of a patchwork stitch background done by our comp and digital matte painting teams. They put together moving helicopter footage that covered all the angles of the city from where The Pearl was supposed to be, then we projected it onto proxy geometry of Hong Kong, which would give us the correct reflections of traffic, buildings and signs, animated lights and the city’s flickering lights.
Can you explain in detail about the FX work and especially the fire?
We created a wide range of effects elements mainly involving explosions, fire, smoke, destruction, sparks and embers… always embers. By shot count, most of the FX work we had on SKYSCRAPER consisted of adding smoke simulations and burning embers to exterior shots around the crane and The Pearl. Because of the quantity of shots, it was very important to create elements that could easily be populated, or setups that were procedural enough, so we could quickly render out passes as soon as we received input from the client. For the shots that involved fire, we started with a base setup that has been developed across a number of shows now which gave us a solid foundation. Creating variation in detail size, speed and scale was the next step to add visual complexity. Crafting the helicopter destruction sequence was a challenging task in FX, there were many elements ensuring that the intensity of the shot builds throughout the scene. For the explosions following the helicopter crash, custom Houdini tools were used to create enough detail in the leading edge of the explosion, and an altered blackbody model for shading really pushed the look for us.
Your sequences have a strong feeling of vertigo. How did you enhance this feeling?
Having recognisable features, however small they might be, really helps with the depth and perspective. Things like cars, trees and roads, objects the audience is familiar with aid in this. When the viewer sees these in relation to everything else, it really conveys that vertigo feeling. Adding in some atmosphere helps too, and sound (or lack of sound) solidifies that eerie isolated feeling that can happen at the top of a building like this.
Parallax helps sell the height and depth of the scene, and when the camera was looking down we made the roof top buildings move separately to the ground, really pushing that parallax. This really gave the viewer a sense of depth. We couldn’t just get away with a 2d cyc in most cases for those shots, we had to have a 3d build of multiple projections for the looking down angles.
Can you tell us more about the helicopter crash in the hangar?
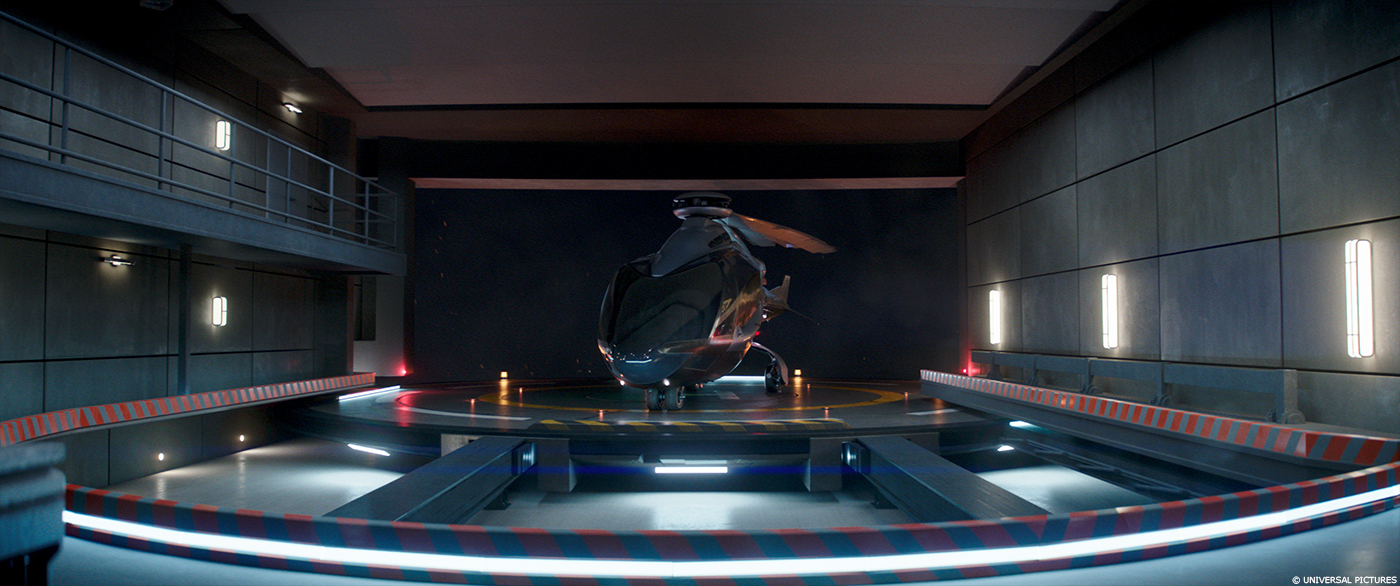
This was one of the most challenging and complicated sequences that we completed for the film. During the initial blocking, we studied plenty of reference material and were surprised at how quickly things escalate in helicopter crashes. This research was vital in providing us with accurate references to use as we pushed and pulled the timing of the helicopter and framing of the camera. Animation and FX worked closely together on this sequence to deliver the scale and intensity of the impact. Once the animation team had completed their initial blocking and timing of the crash, the FX team were tasked with creating the destruction of the helicopter and environment with all the secondary elements that you would expect to see. When the helicopter crashes into the back railing, the explosion and fiery aftermath of that event were also heavily reliant on the FX. A complex rigid body and constraint setup was made which allowed bending and detachment of panels and most importantly the ability to art direct it. Once that was working it then fed into secondary simulations of crumpling metal, debris, dust and sparks all created within Houdini. To make sure it all lived in the same world, the FX team passed all of their elements to lighting, which at times can be a technical challenge of its own, but really paid off in the final renders.
Which sequence or shot was the most complicated to create and why?
Definitely the helicopter crash sequence. It was a group of shots requiring every team in our studio to collaborate closely to ensure it was perfect. The camera angles did not allow for any ‘cheating’ in the VFX work. It’s a violent crash in which the helicopter rolls into the building, collides with a wall and then blows up. The roll was an unnatural behaviour that we had to give momentum to while still making it look real, and the final product is something that we are all proud of.
What is your favorite shot or sequence?
I love the crane climb/jump sequence. It was our biggest sequence to manage, and for me, it really sums up the movie in just that short section. Will Sawyer rescuing his family at all costs, all safe exits are blocked, so the only thing left is to attempt the iconic jump. Part of our initial brief for SKYSCRAPER from Rawson, was that he really wanted to sell the sense of vertigo and height to the audience. This sequence really delivers on that and combined with sound we all get a good sense of what it is like to be approximately 120 stories above the ground in a high intensity moment.
How long did you work on this show?
It was about 7 months.
What is Method’s VFX shot count?
Approximately 500 shots.
What was the size of the Method team?
We had 170 talented artists and production crew that worked on SKYSCRAPER over the course of the production.
A big thanks for your time.
// WANT TO KNOW MORE?
Method Studios: Official website of Method Studios.
© Vincent Frei – The Art of VFX – 2018


